Delivering to your country

Photo Guide for Sellers

Accurate photos speed up warehouse inspection and AI verification, so your buyer’s payment gets released to you faster.

Seller guide

Perfect Photos, Faster Verification

Follow FlyMyMall’s photo standards for faster verification. Clear, well-lit images help our AI verify items quickly and reduce fraud checks.

View Photo Requirements →
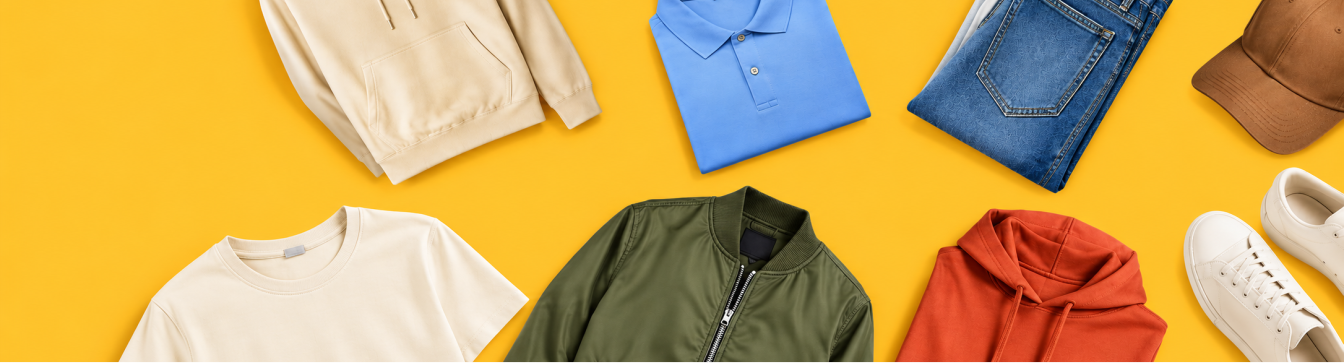
Denim clothing arranged on a yellow background

Required Angles for Clothing

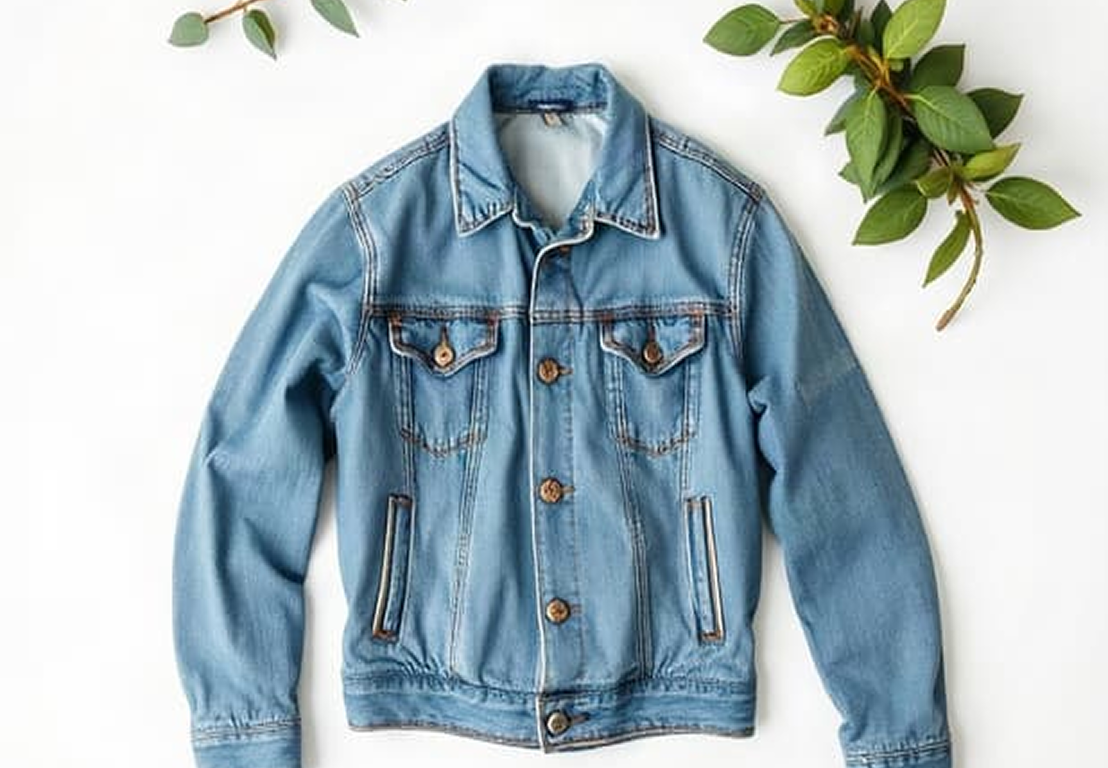
Denim jacket laid flat, front view 1

Full Front View

Lay the item flat, showing the entire piece from collar to hem. Ensure it’s well-lit and not wrinkled.

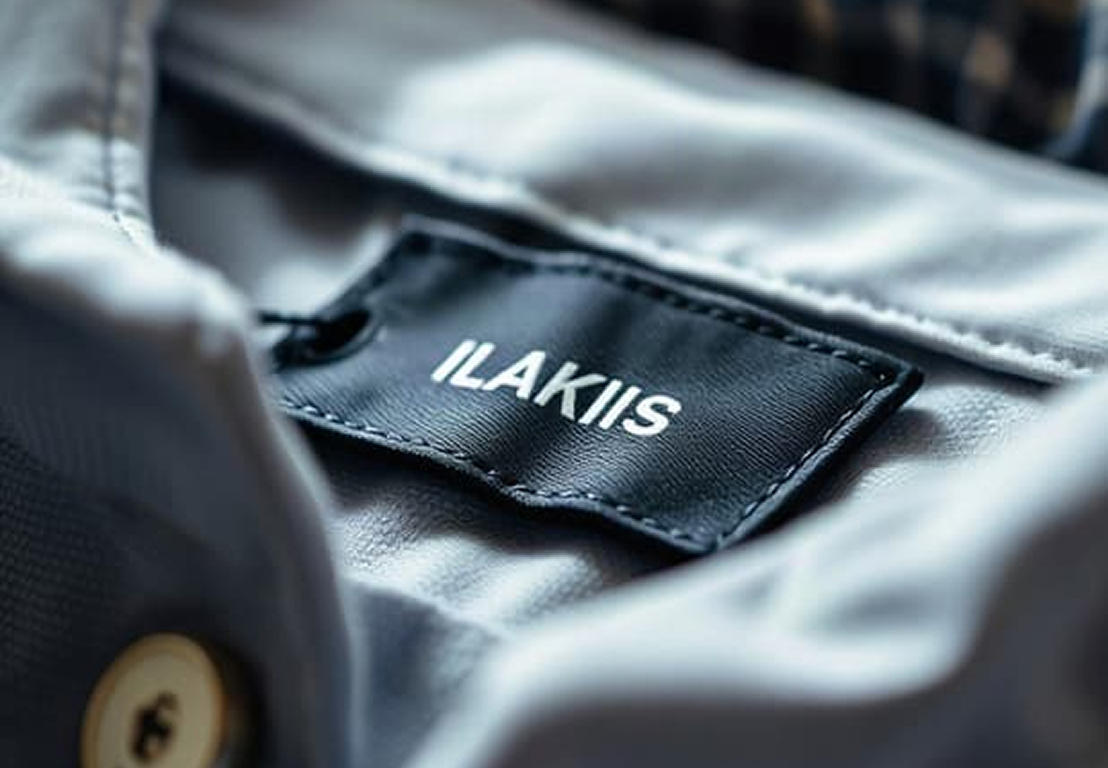
Close-up of a clothing brand label 2

Brand & Size Tags

Clear, close-up shot of the neck tag and inner wash labels.

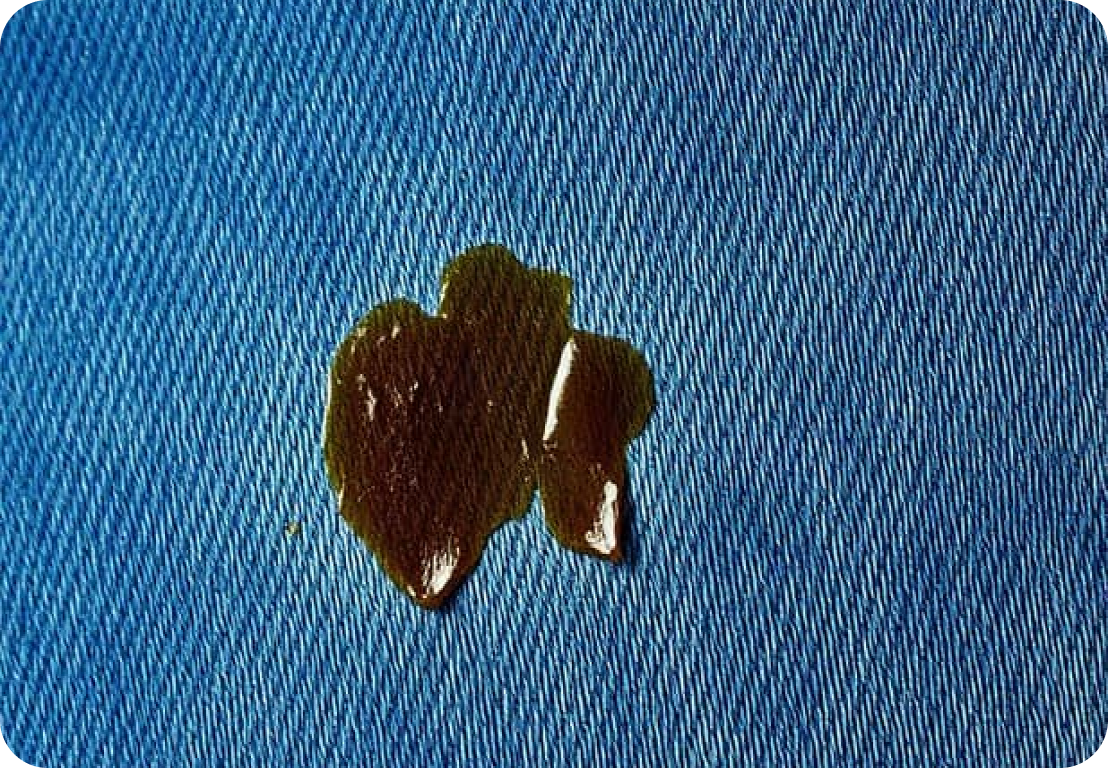
Close-up of a stain on blue denim 3

Flaws or Damage

Highlight any stains, rips, or wear so buyers know exactly what they are getting.

Required Angles for Shoes

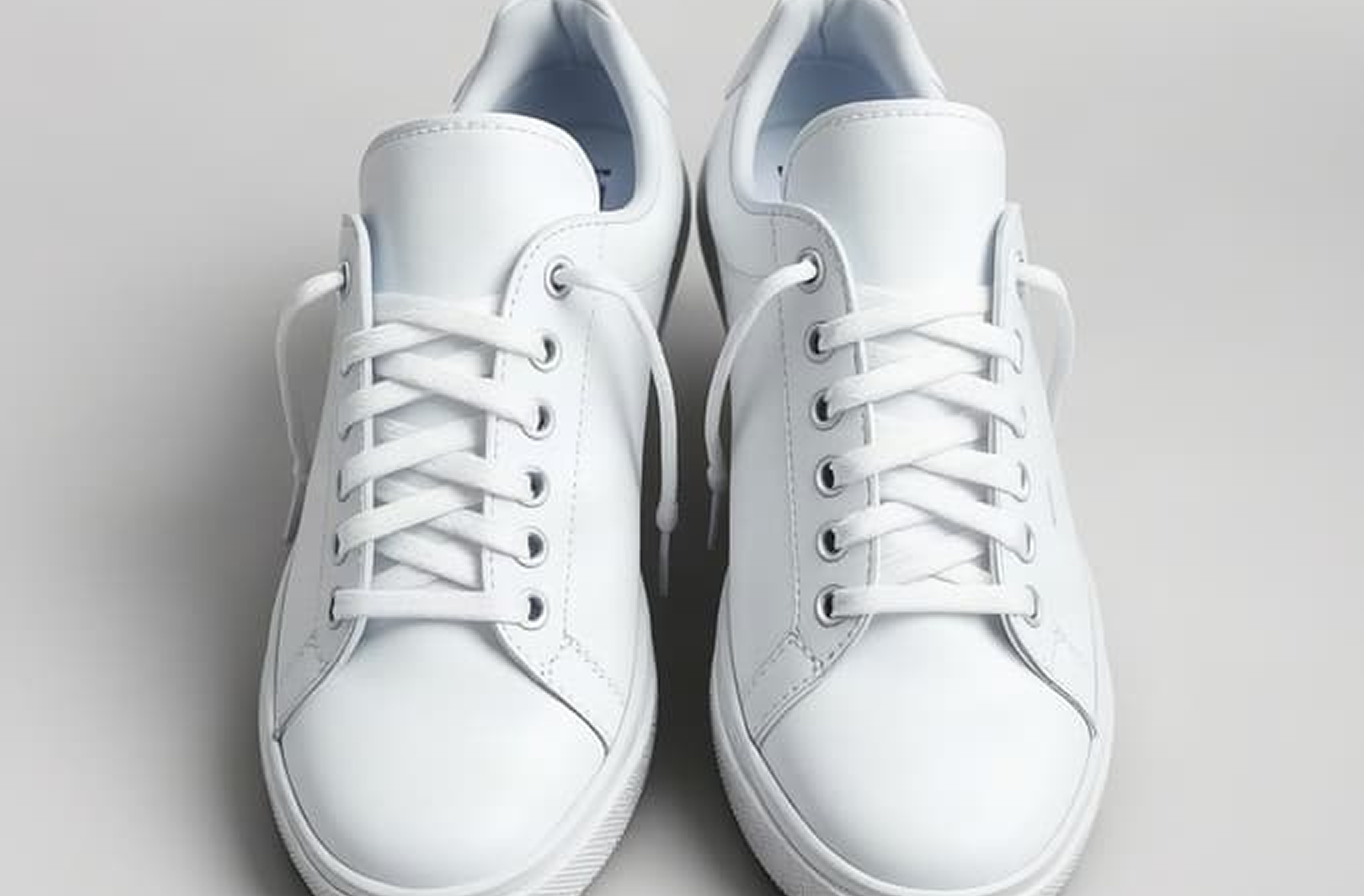
White sneakers photographed from the front 1

Full Pair: Front

Position the pair neatly and show both shoes completely.

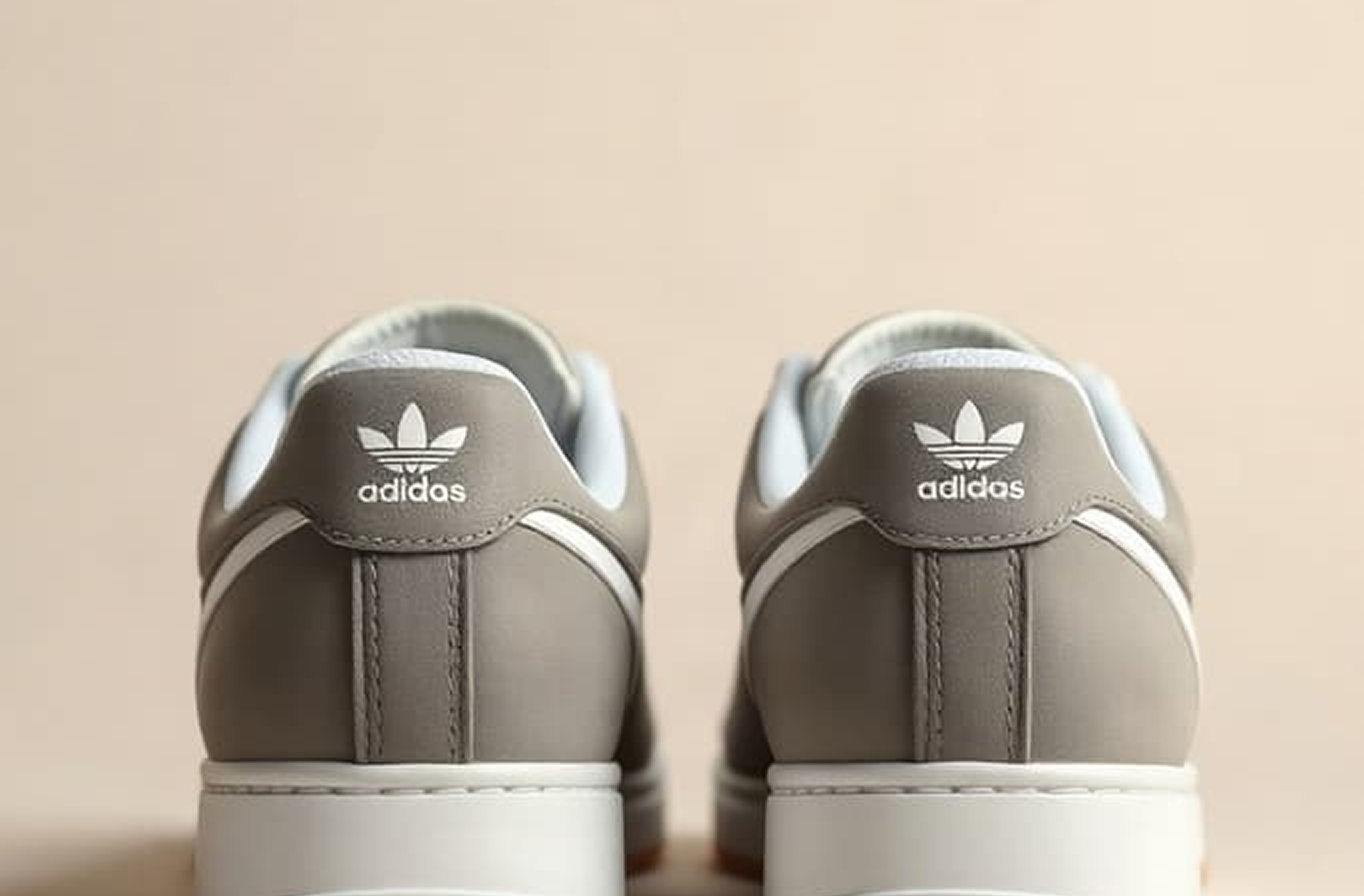
Sneakers photographed from the back 2

Back View

Capture the rear shape, branding and heel condition.

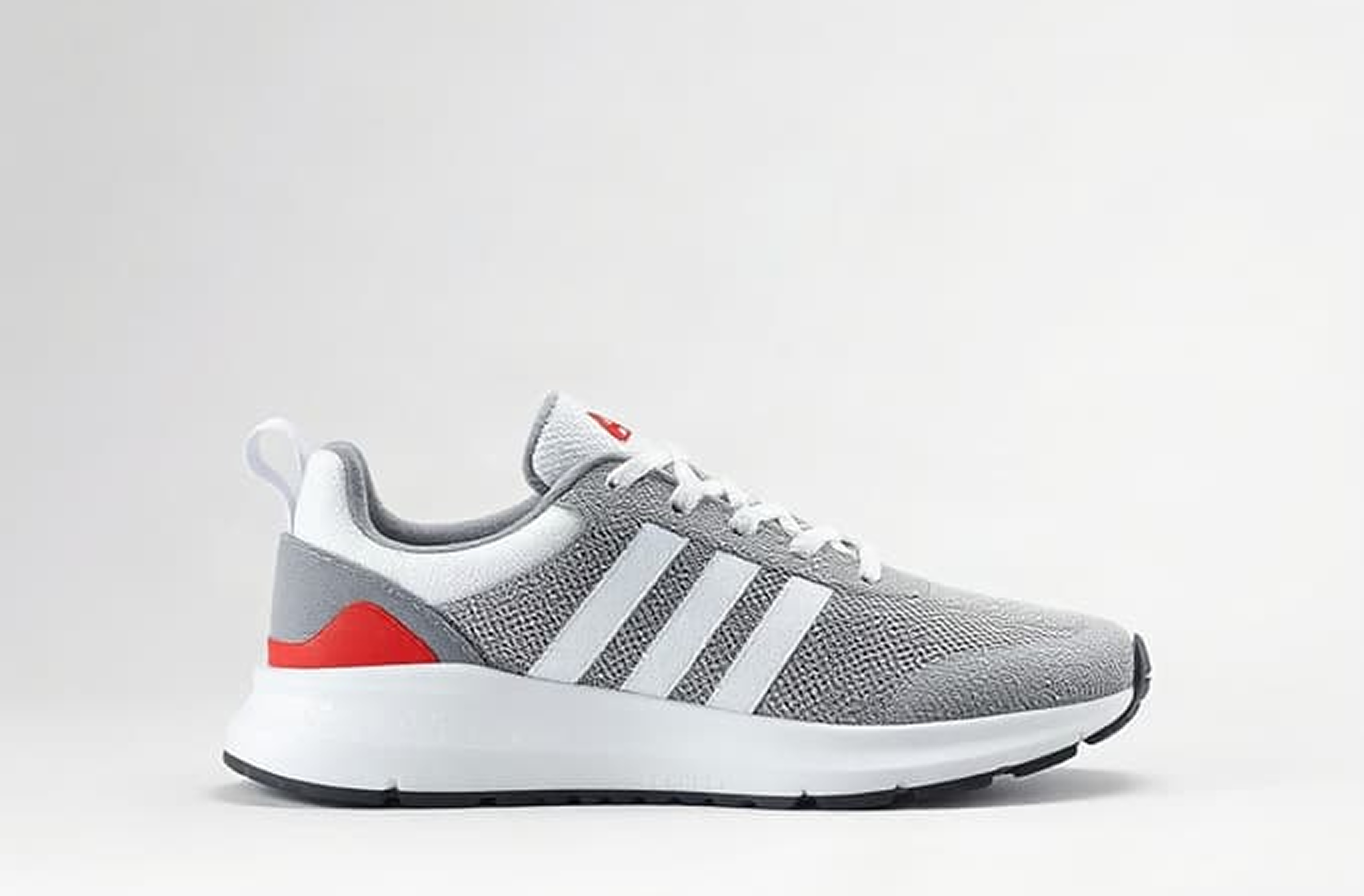
Gray and red sneaker photographed from the side 3

Side View

Capture the outer side of the shoe clearly. Add the opposite side where necessary.

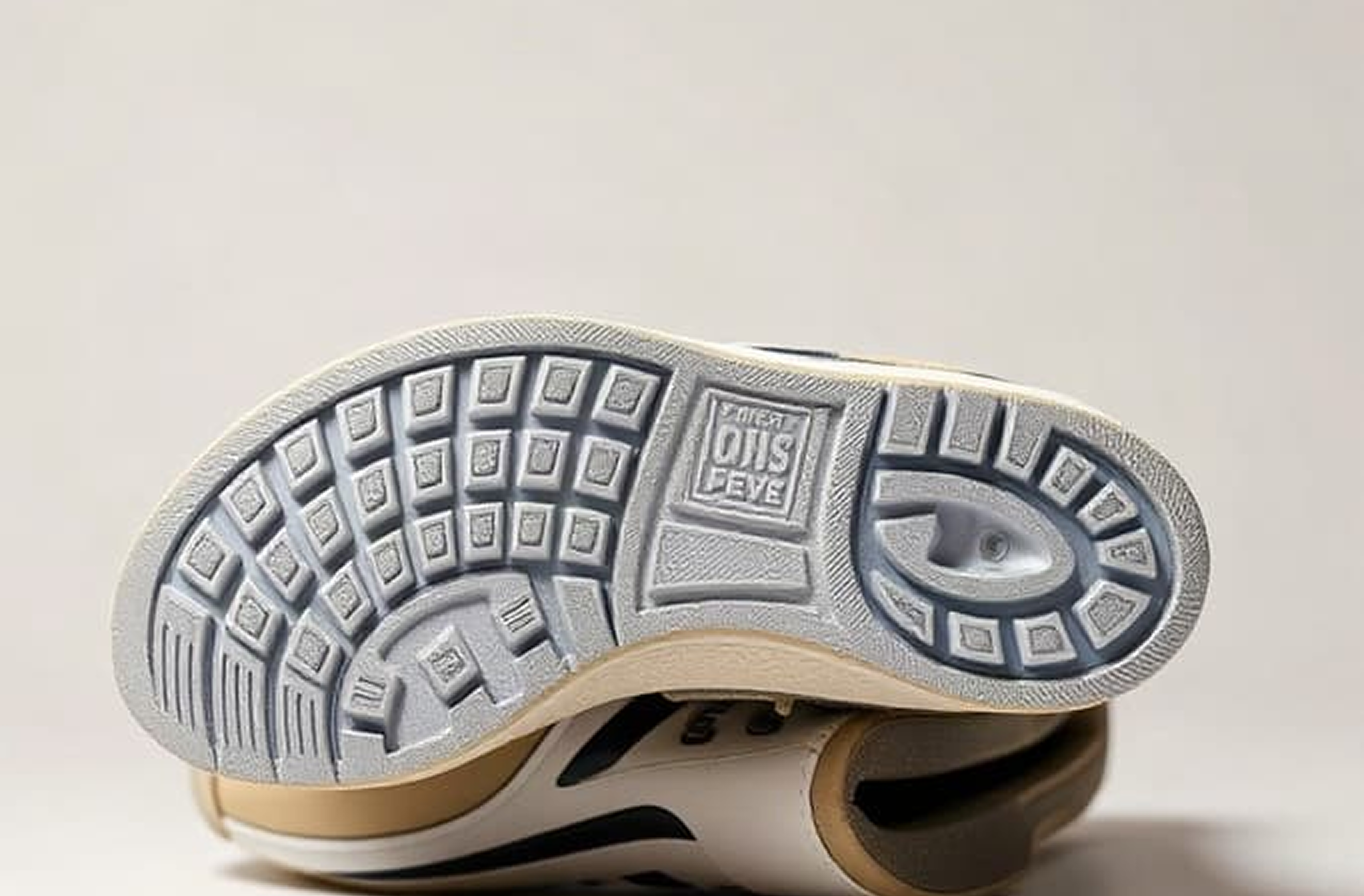
Sneaker outsole photographed from below 4

Soles

Photograph the complete outsole so buyers can inspect tread and wear.

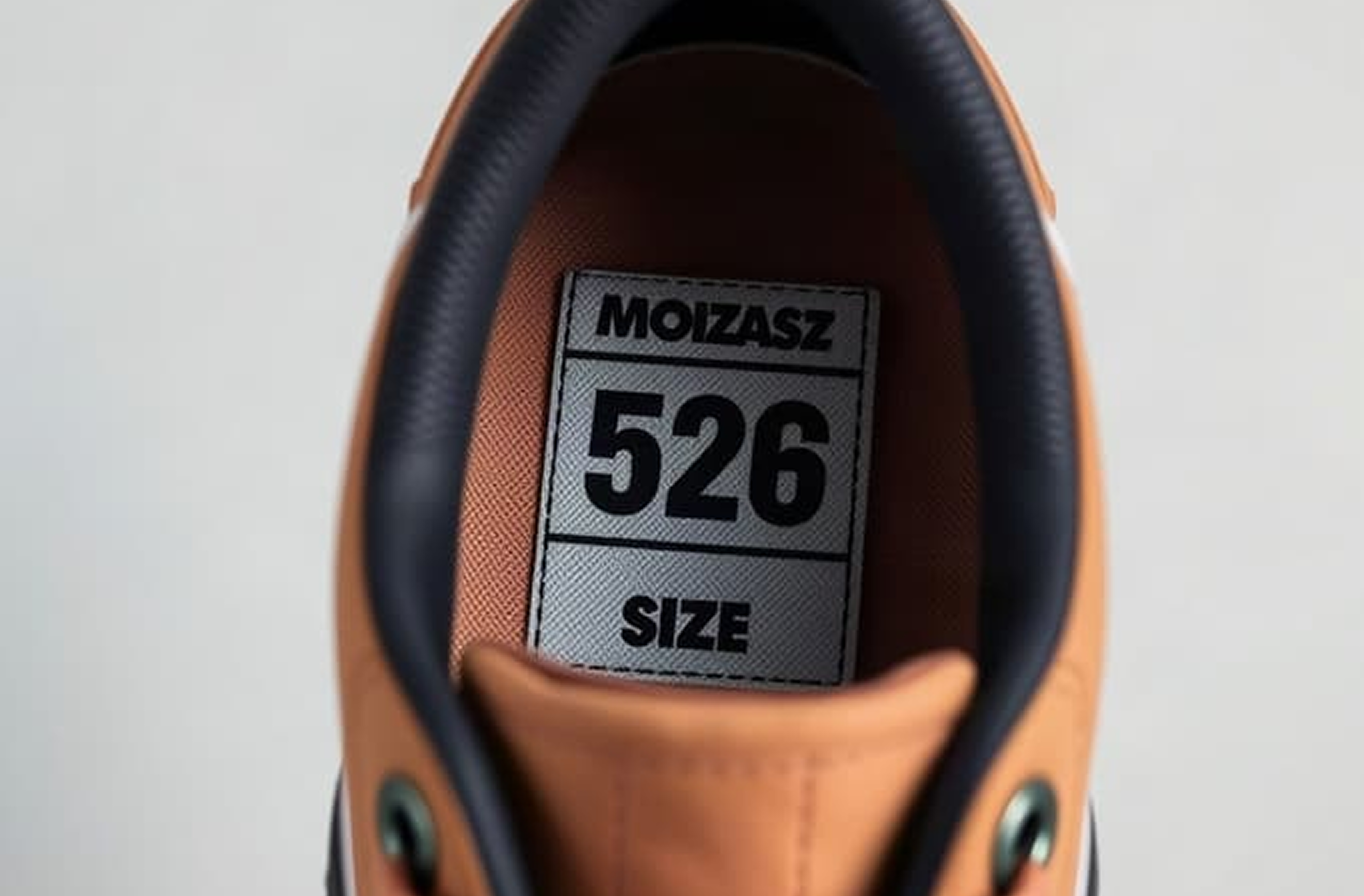
Close-up of a sneaker size label 5

Size / Product Label

Make the size, model information and label clearly readable.

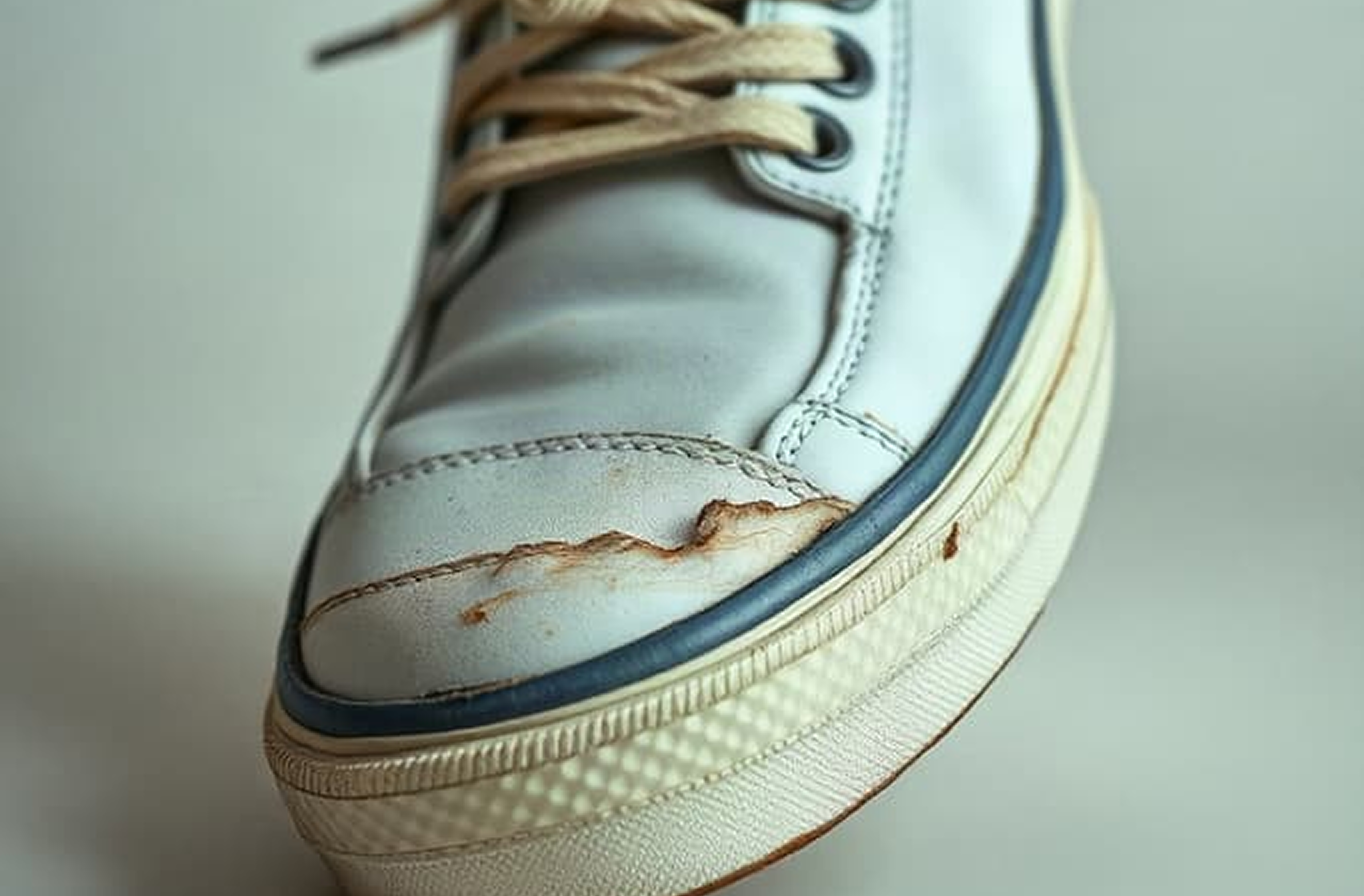
Close-up of wear on a sneaker 6

Wear / Damage

Clearly show any visible signs of use or damage.

Required Angles for Bags

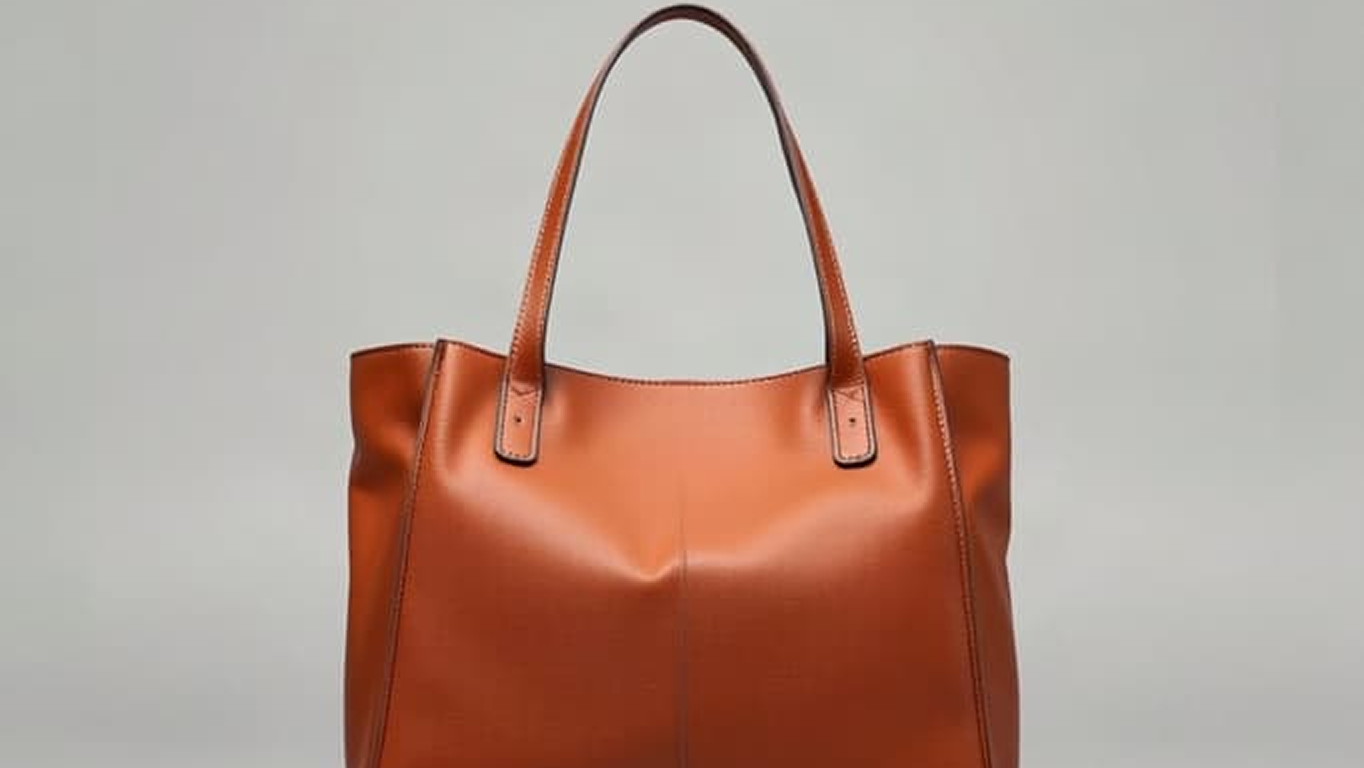
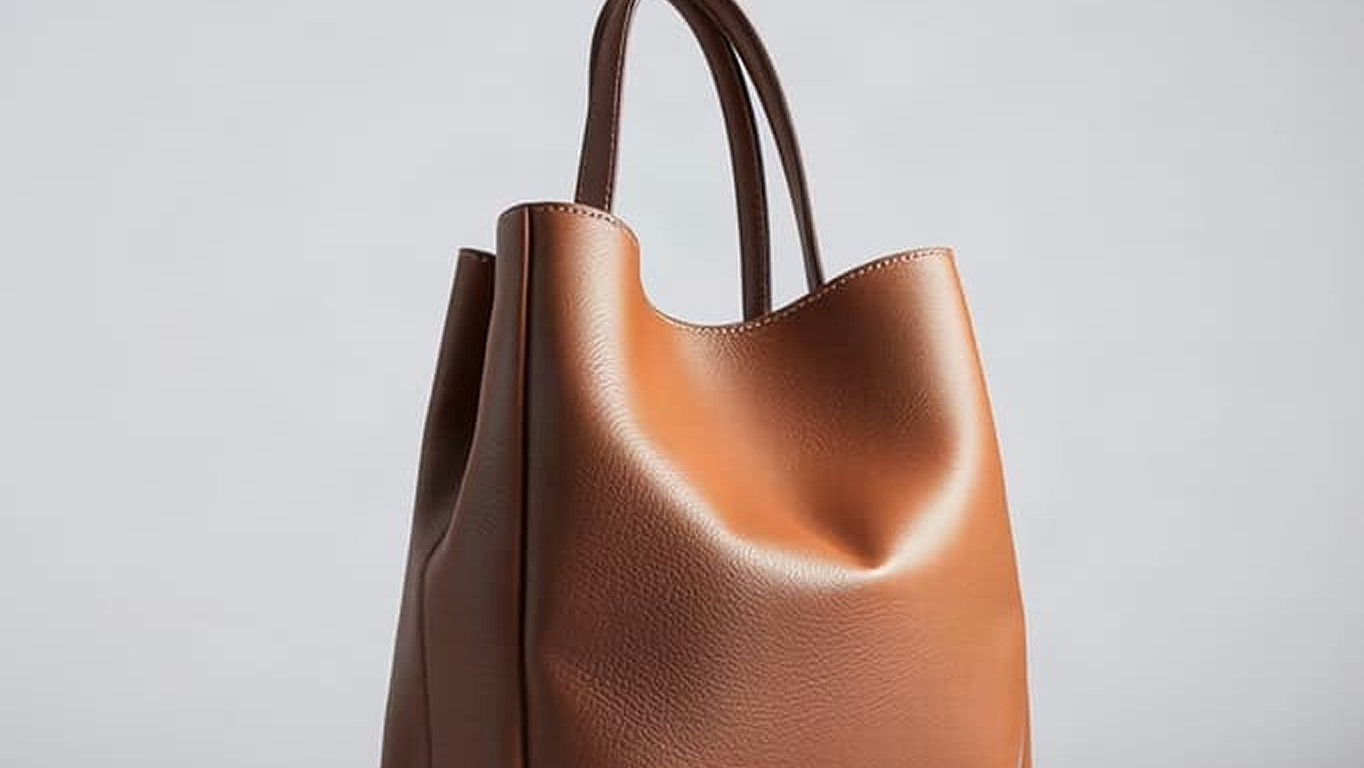
Leather handbag photographed from the front 1

Front View

Show the complete front of the bag.

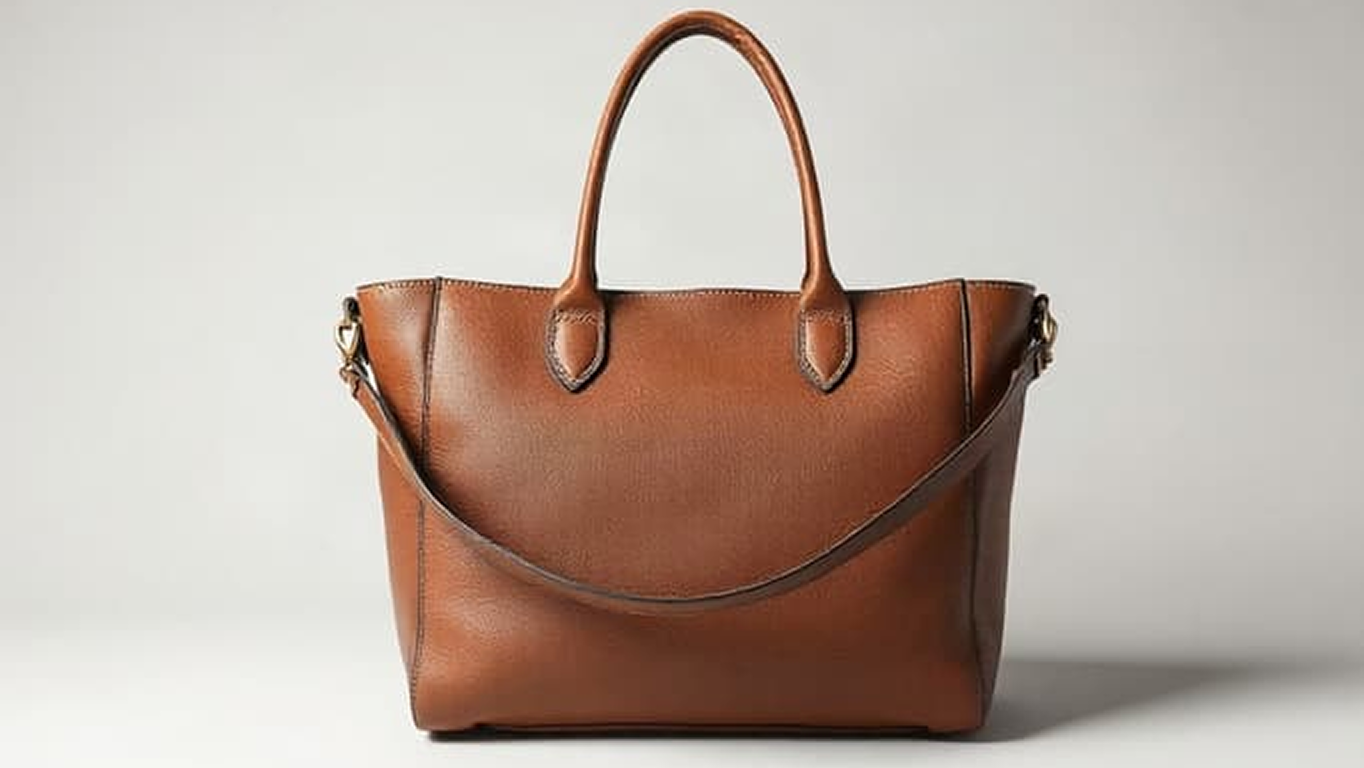
Leather handbag photographed from the back 2

Back View

Photograph the entire back.

Leather handbag photographed from the side 3

Side / Profile

Show the depth, shape and side construction of the bag.

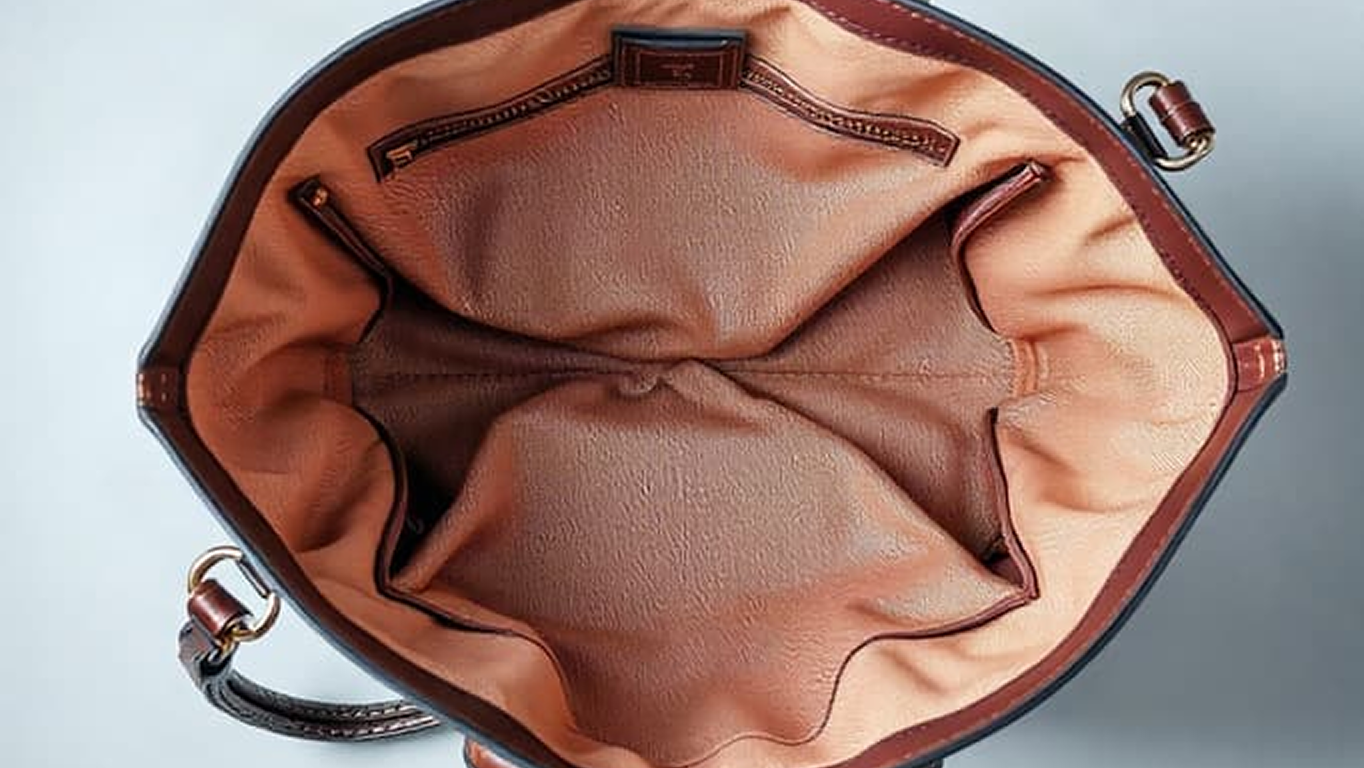
Inside of a leather handbag 4

Interior

Open the bag and photograph the compartments and internal condition.

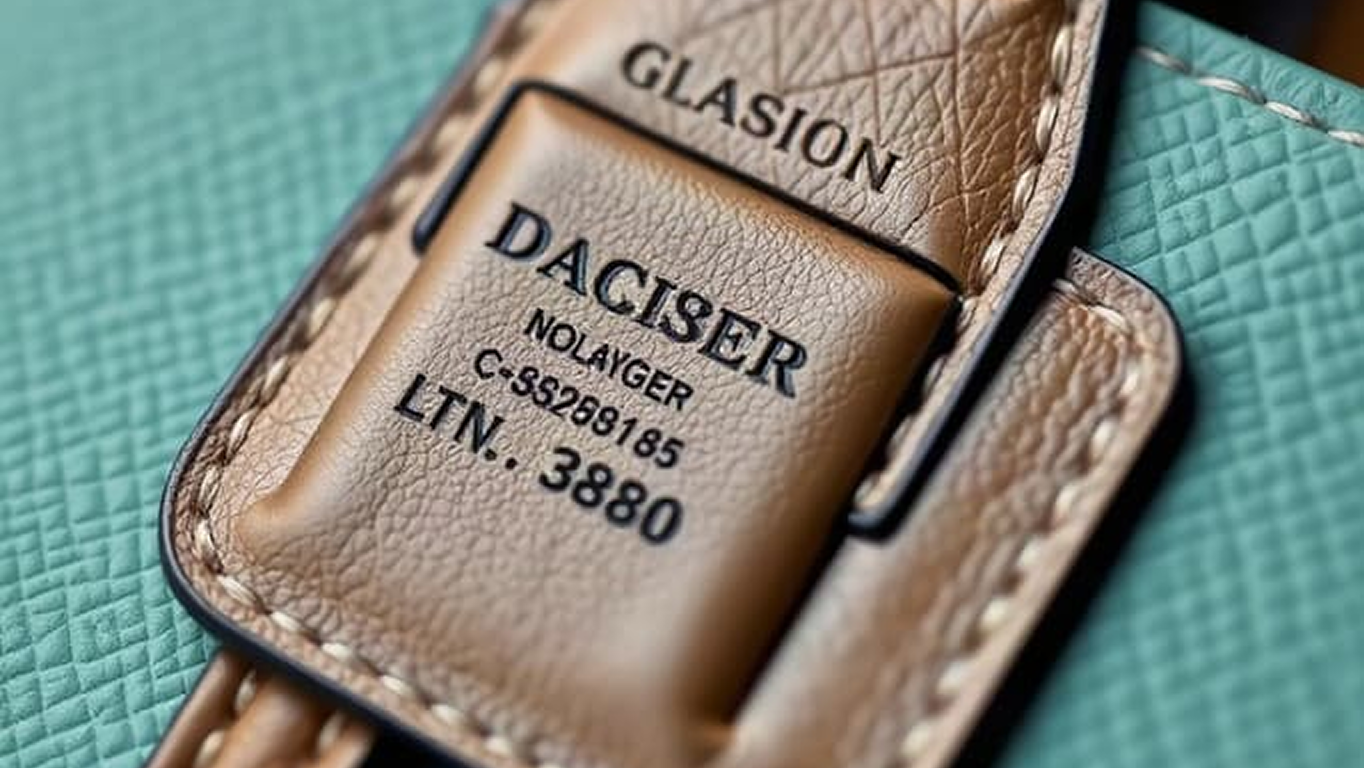
Close-up of a handbag authenticity label 5

Brand / Authenticity Details

Show logos, brand labels, serial numbers or authenticity markings.

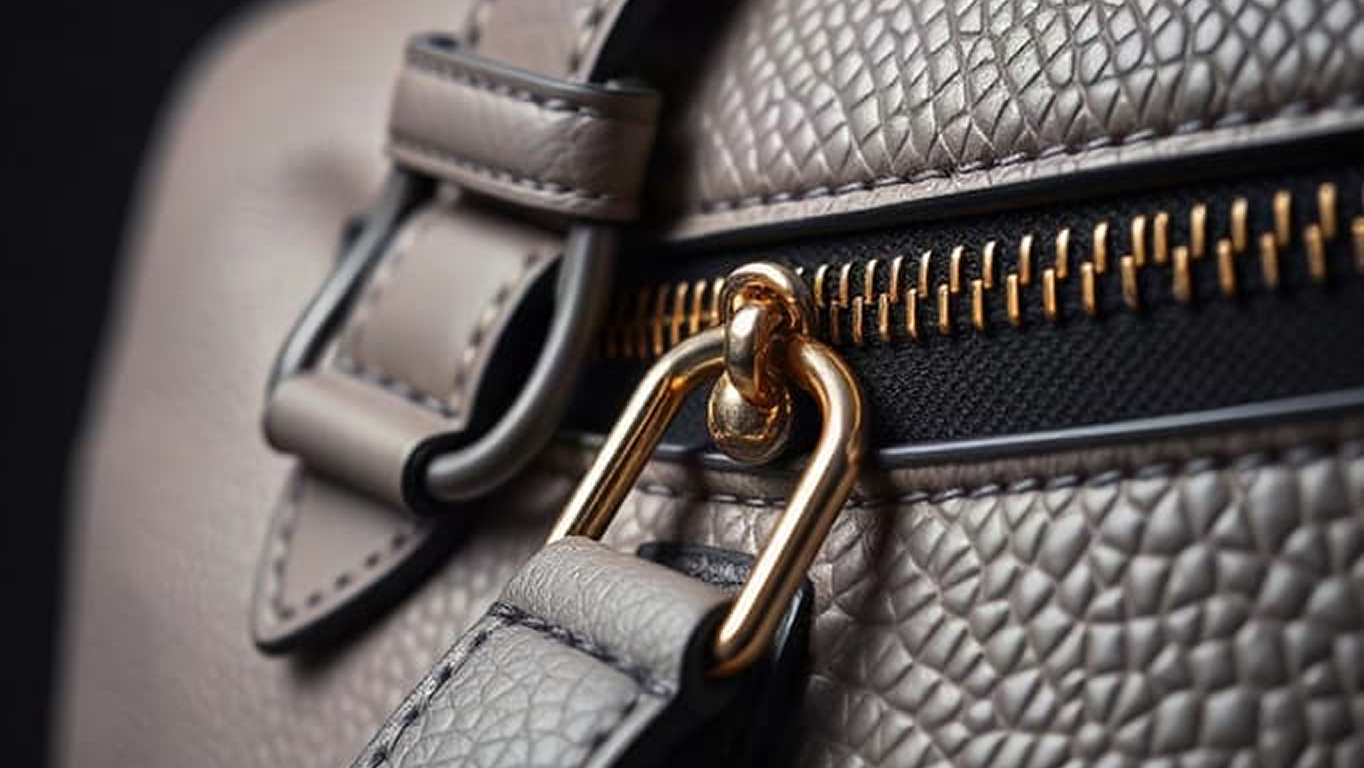
Close-up of handbag straps, zipper and hardware 6

Straps, Zips & Hardware

Capture handles, straps, zippers, buckles and important hardware.

Close-up of wear on a leather handbag 7

Wear / Damage

Show scratches, stains, torn material, worn corners or damaged hardware.

Required Angles for Phones

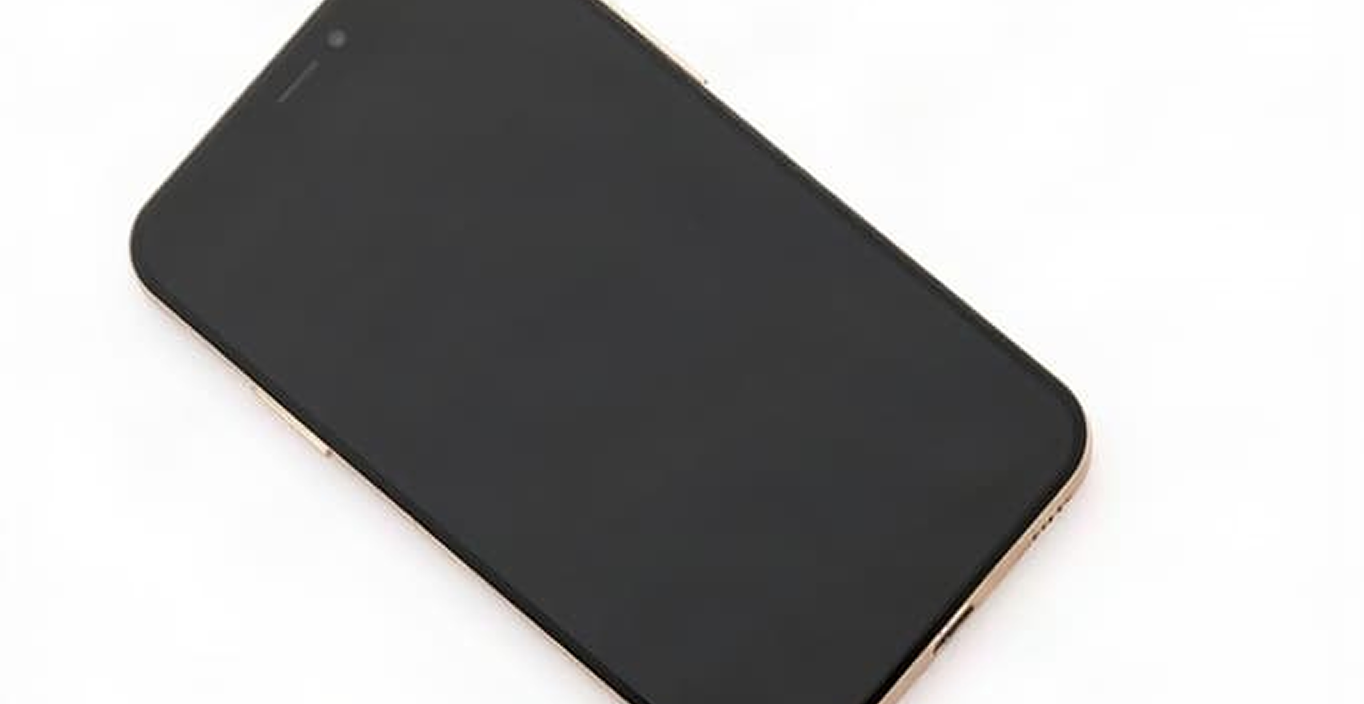
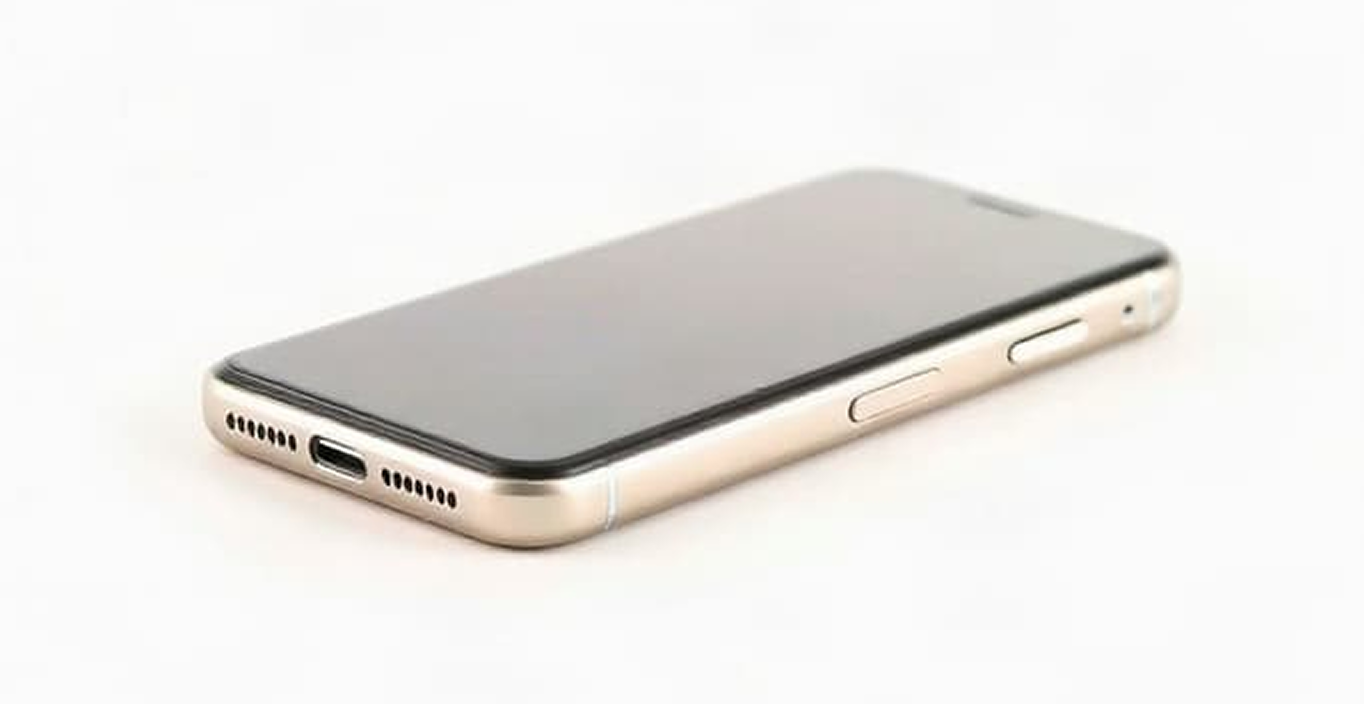
Phone photographed from the front 1

Front: Screen Off

Show the complete front of the device.

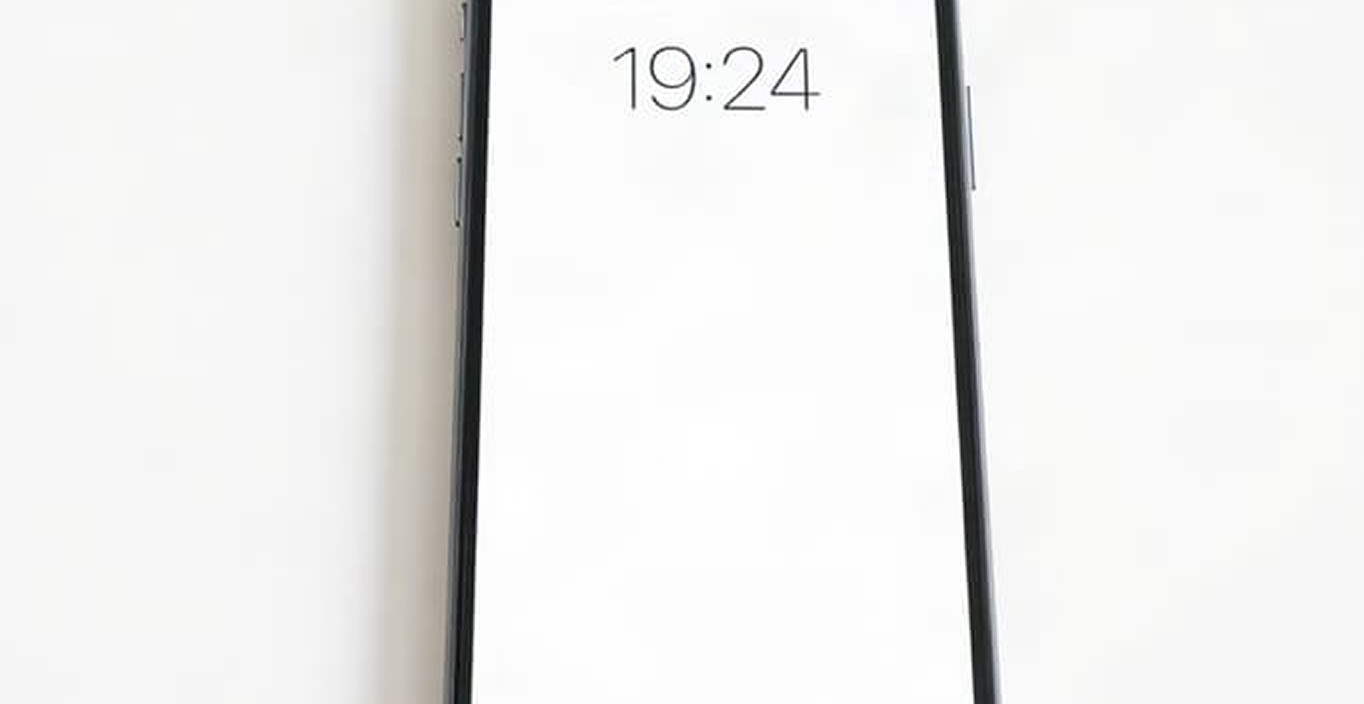
Phone screen powered on 2

Front: Screen On

Show the device powered on.

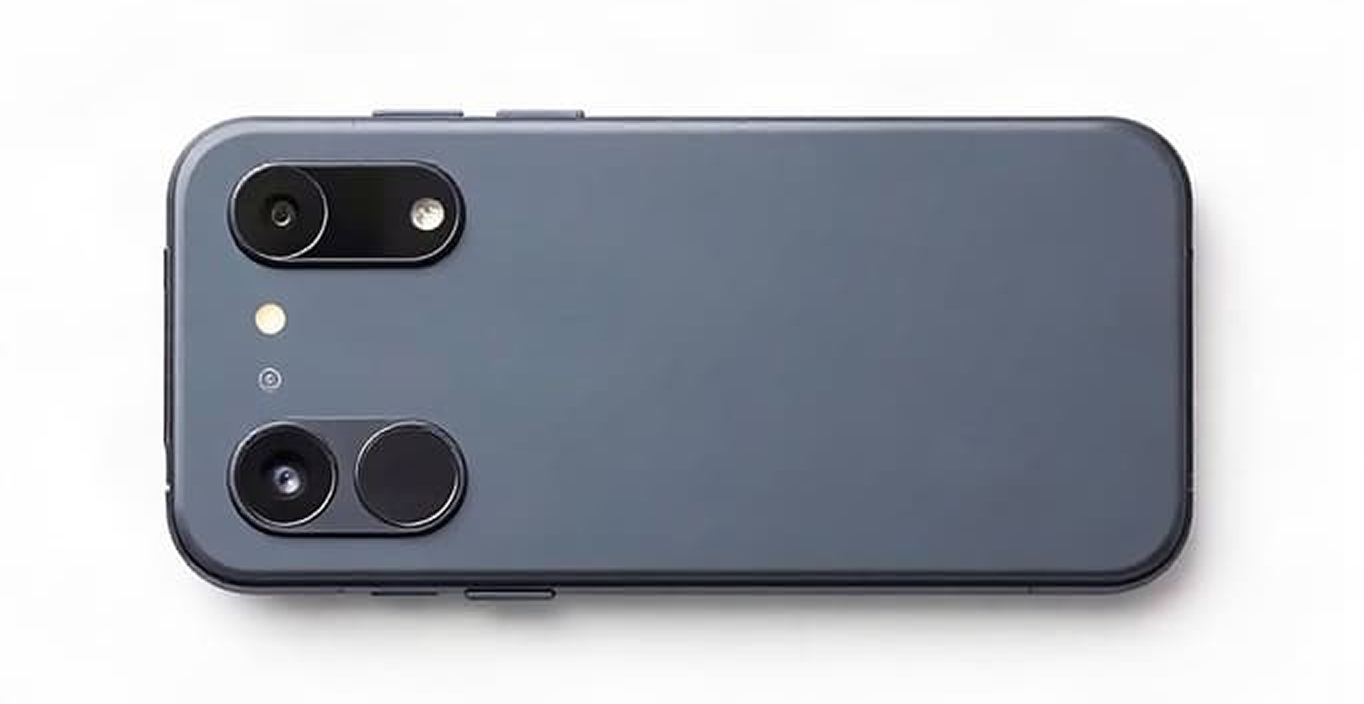
Phone photographed from the back 3

Back View

Show the complete rear of the device.

Phone photographed from the side 4

Sides & Buttons

Show the edges, buttons, charging port and other connections.

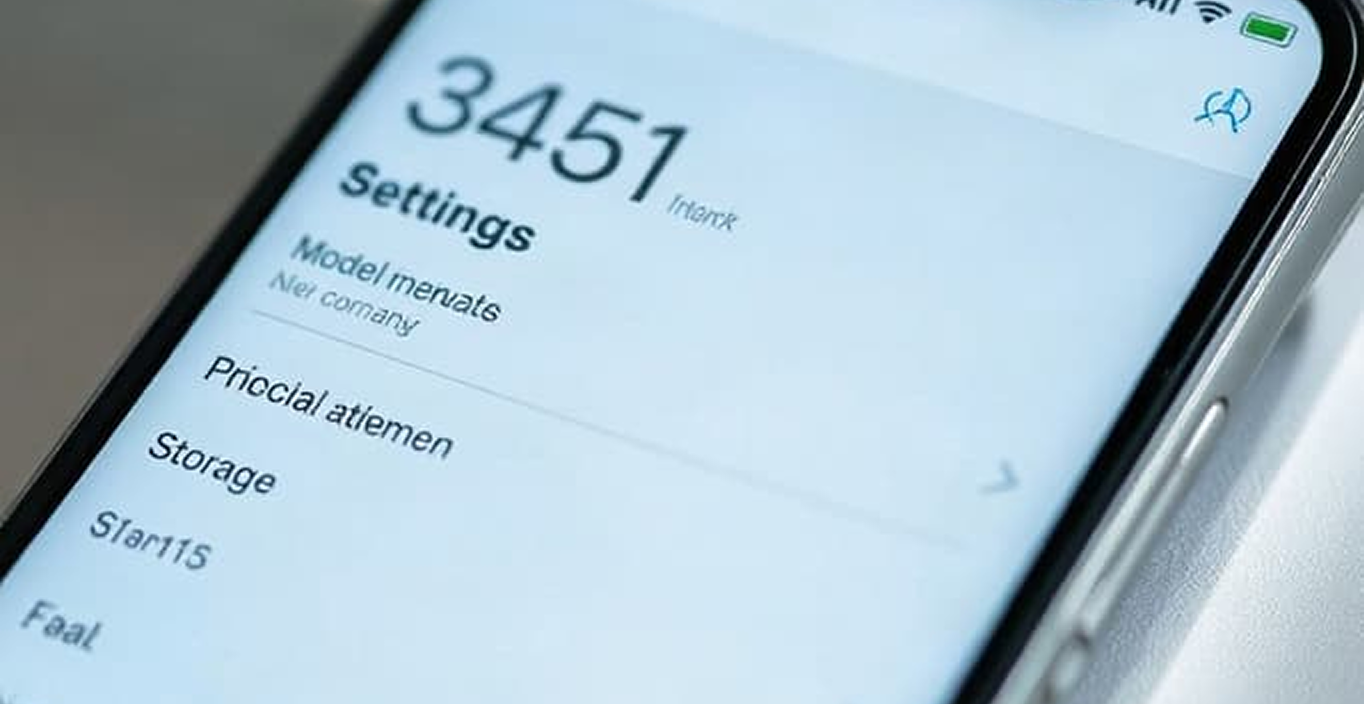
Phone settings and product information 5

Model / Device Information

Show relevant model information.

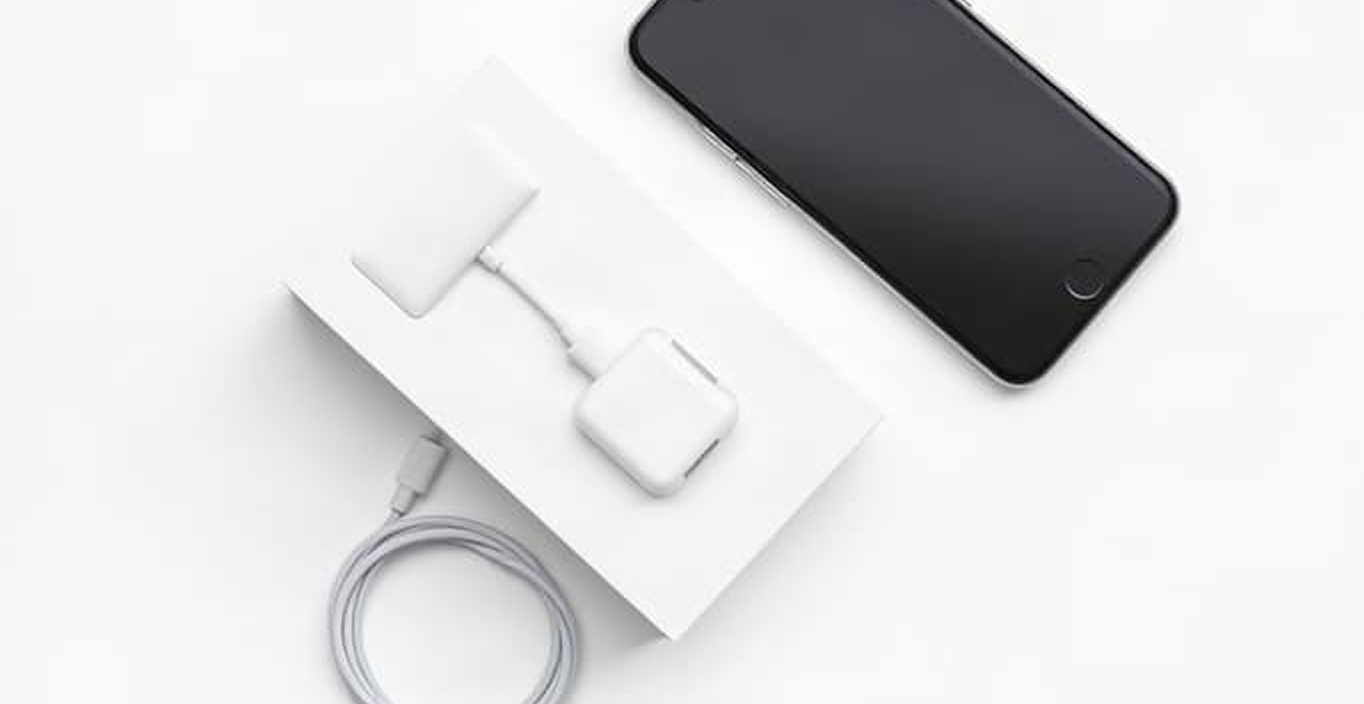
Phone box and included accessories 6

Included Accessories

Show charger, cable, box, case, stylus or other included items.

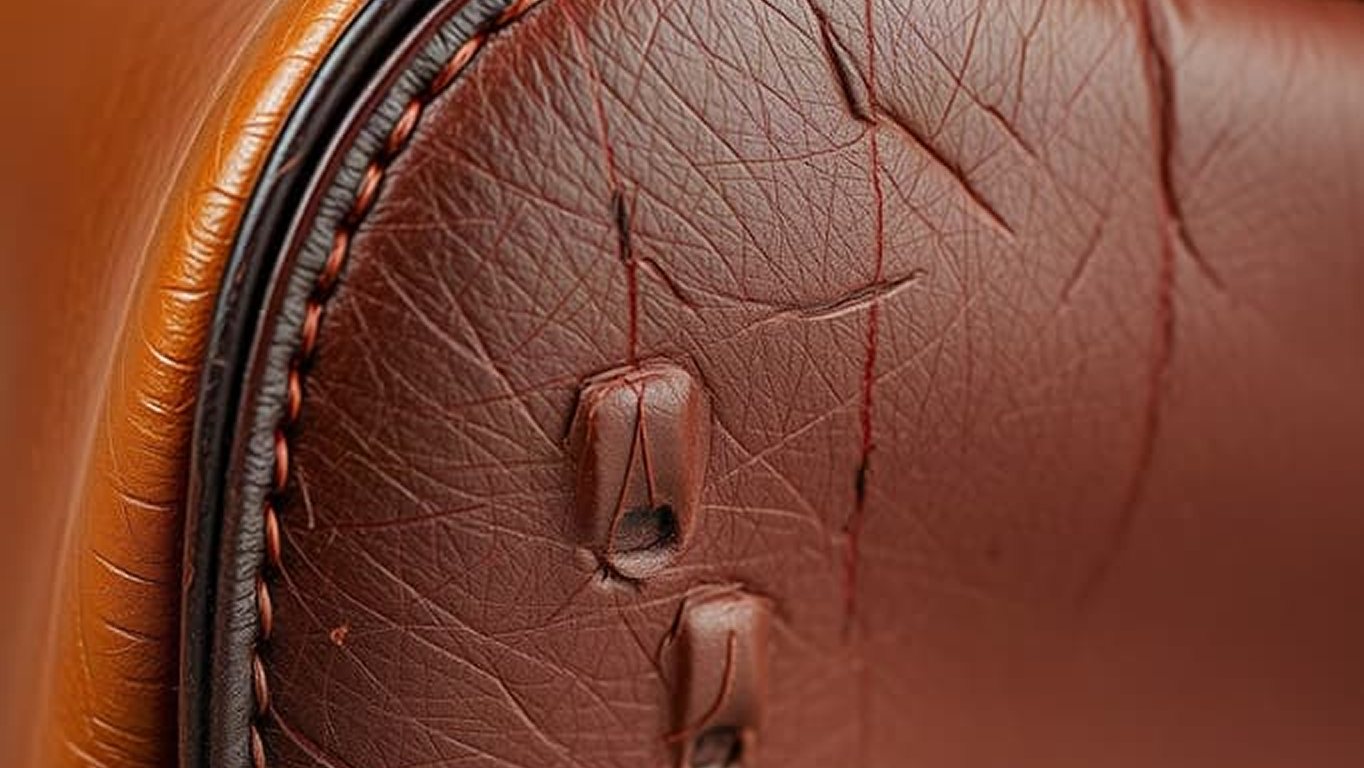
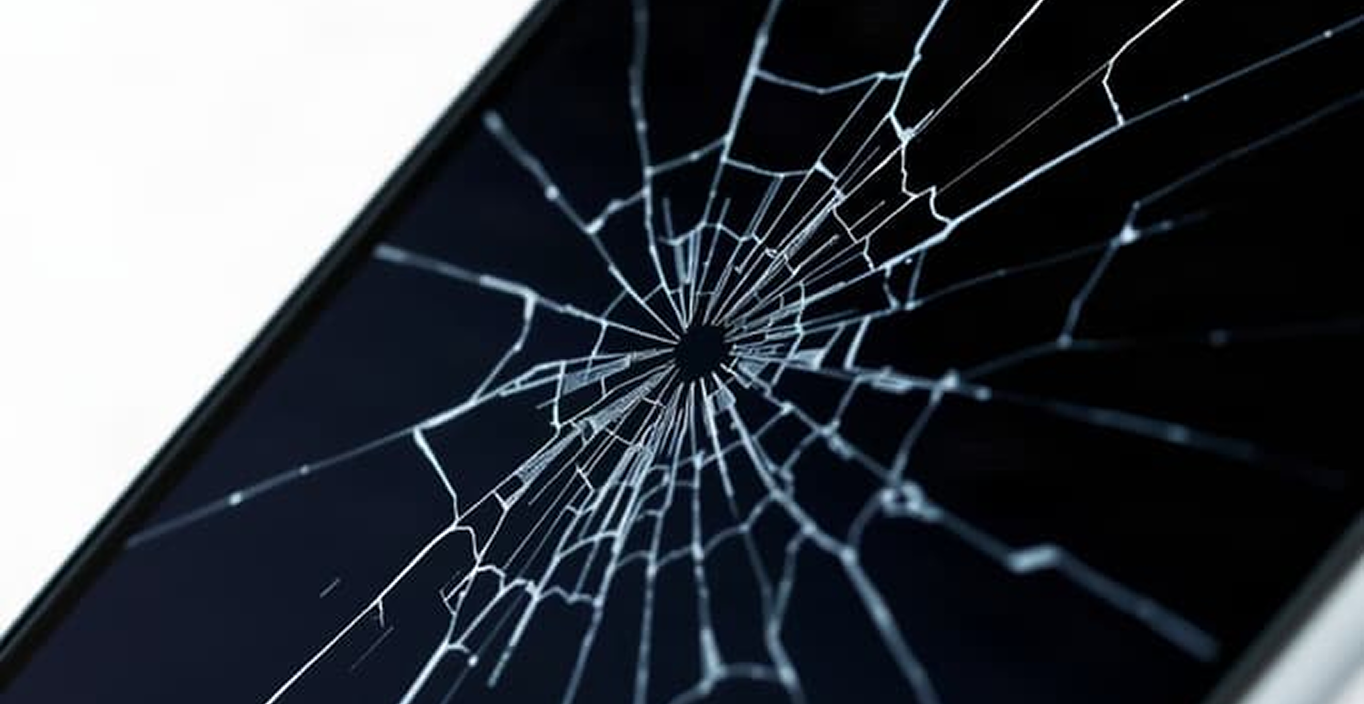
Cracked phone screen showing damage 7

Damage / Defects

Show screen cracks, scratches, dents, camera damage or other defects.

Required Angles for Laptops

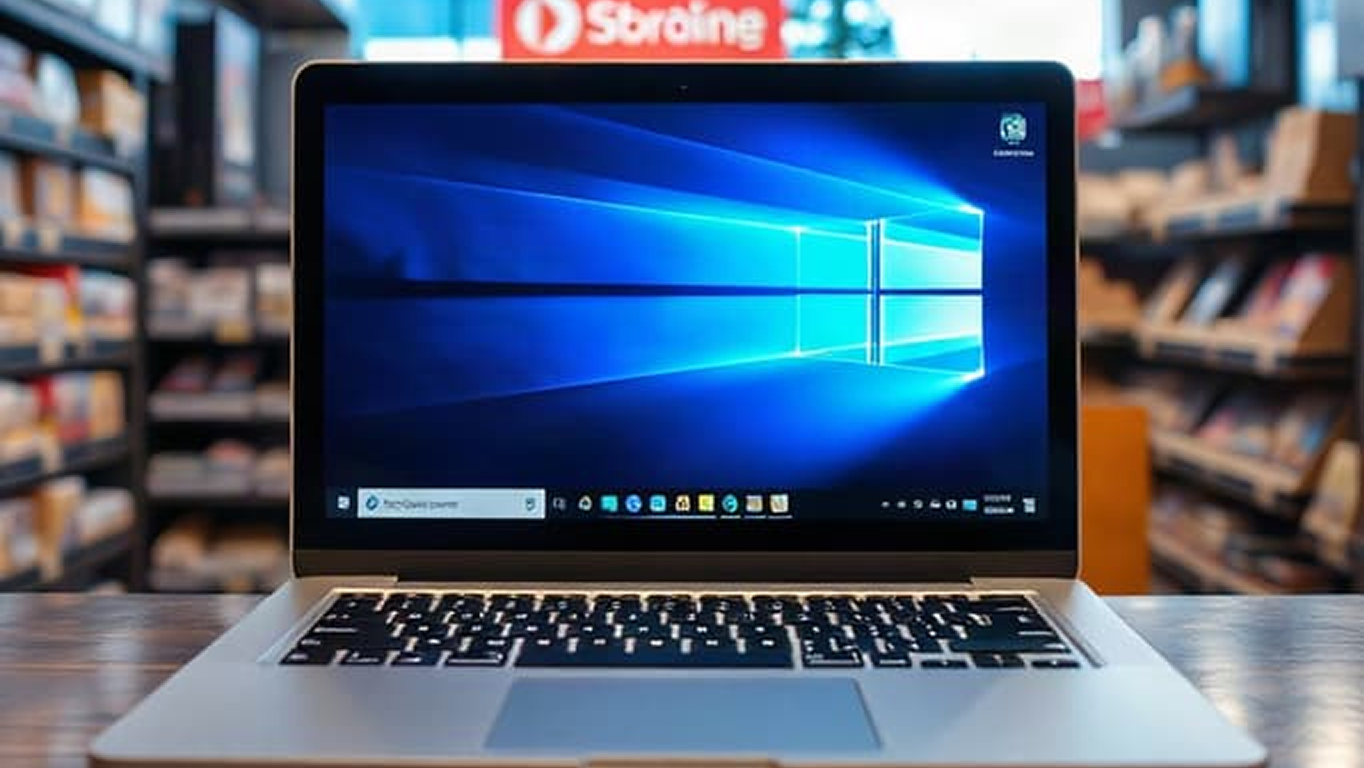
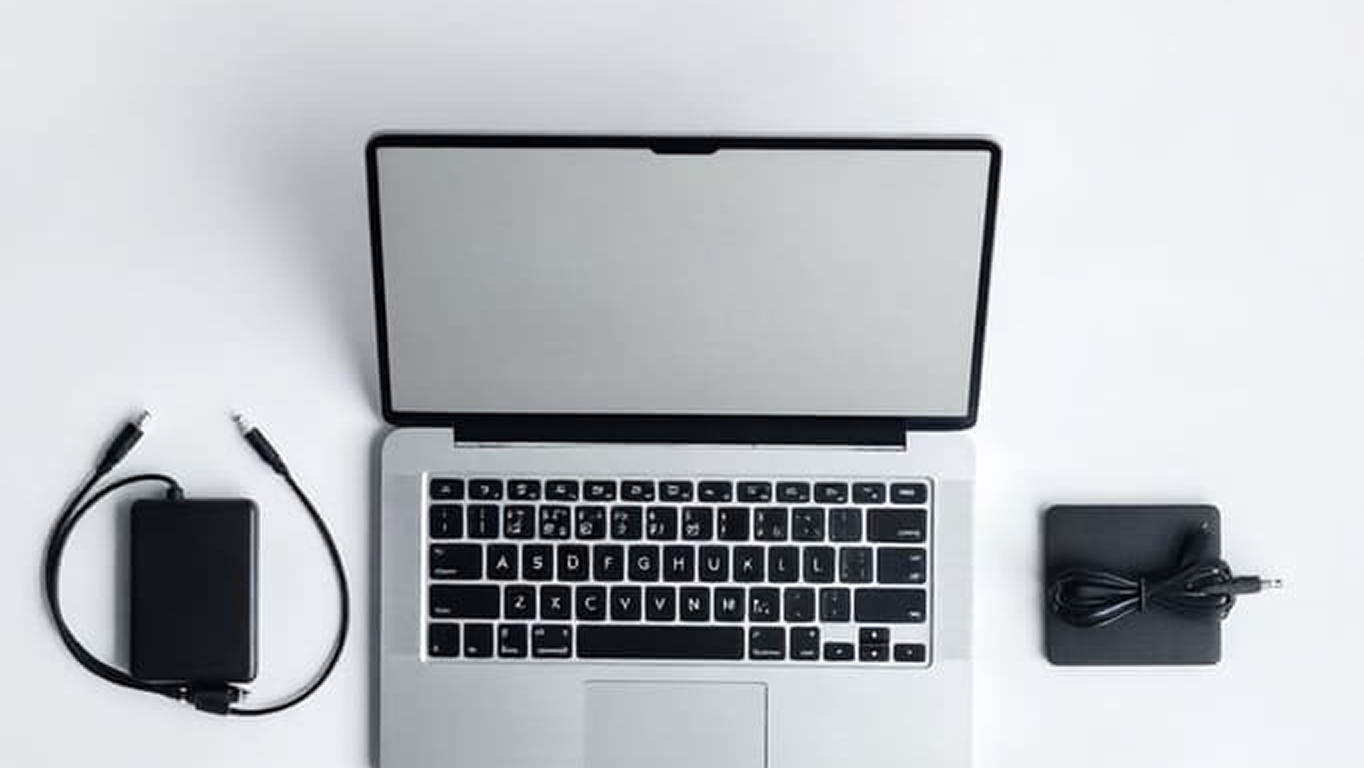
Laptop photographed from the front 1

Device Open: Front

Show the complete laptop with the screen open.

Laptop screen powered on 2

Screen Powered On

Turn the computer on and show the working display.

Laptop keyboard and trackpad 3

Keyboard & Trackpad

Capture the keyboard, trackpad and palm-rest condition.

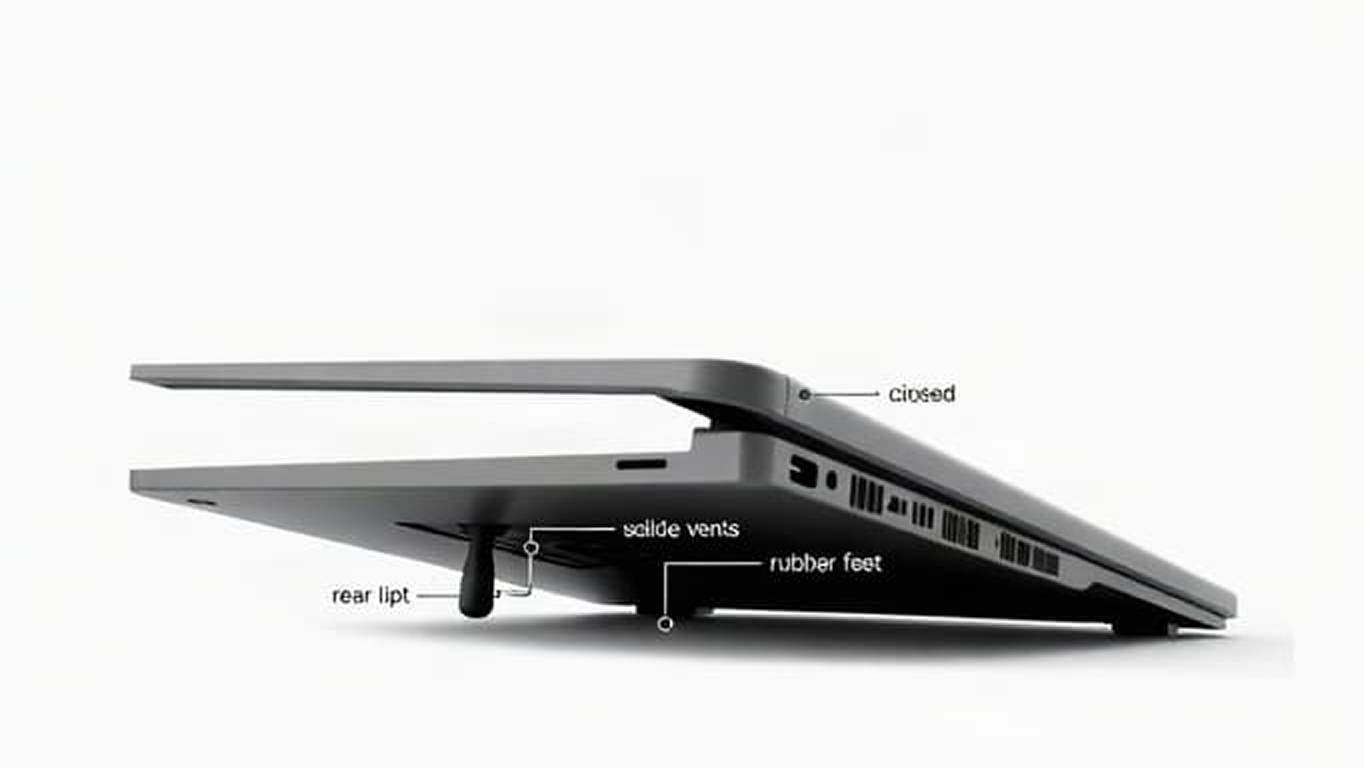
Laptop photographed from underneath 4

Back / Underside

Show the underside or rear of the computer.

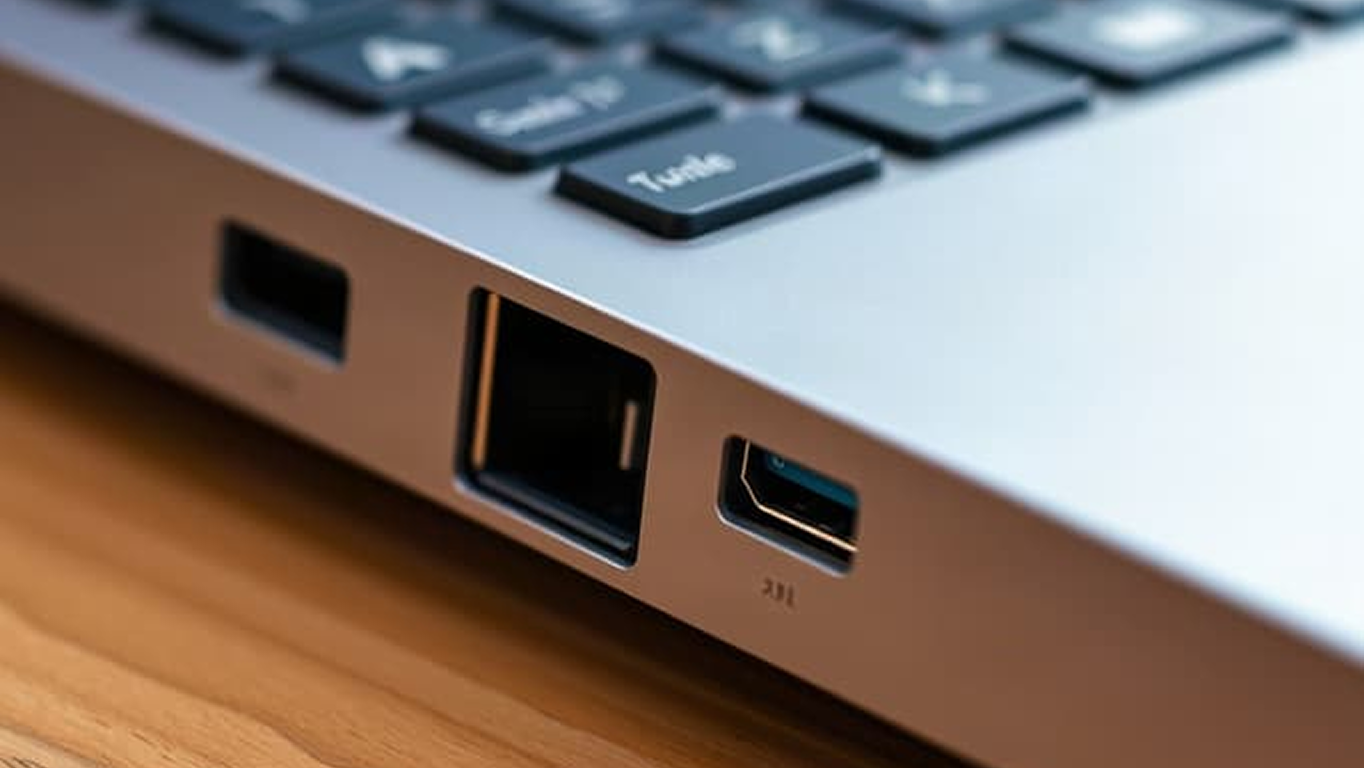
Laptop ports and connections 5

Ports & Sides

Photograph charging, USB, HDMI, audio and other important ports.

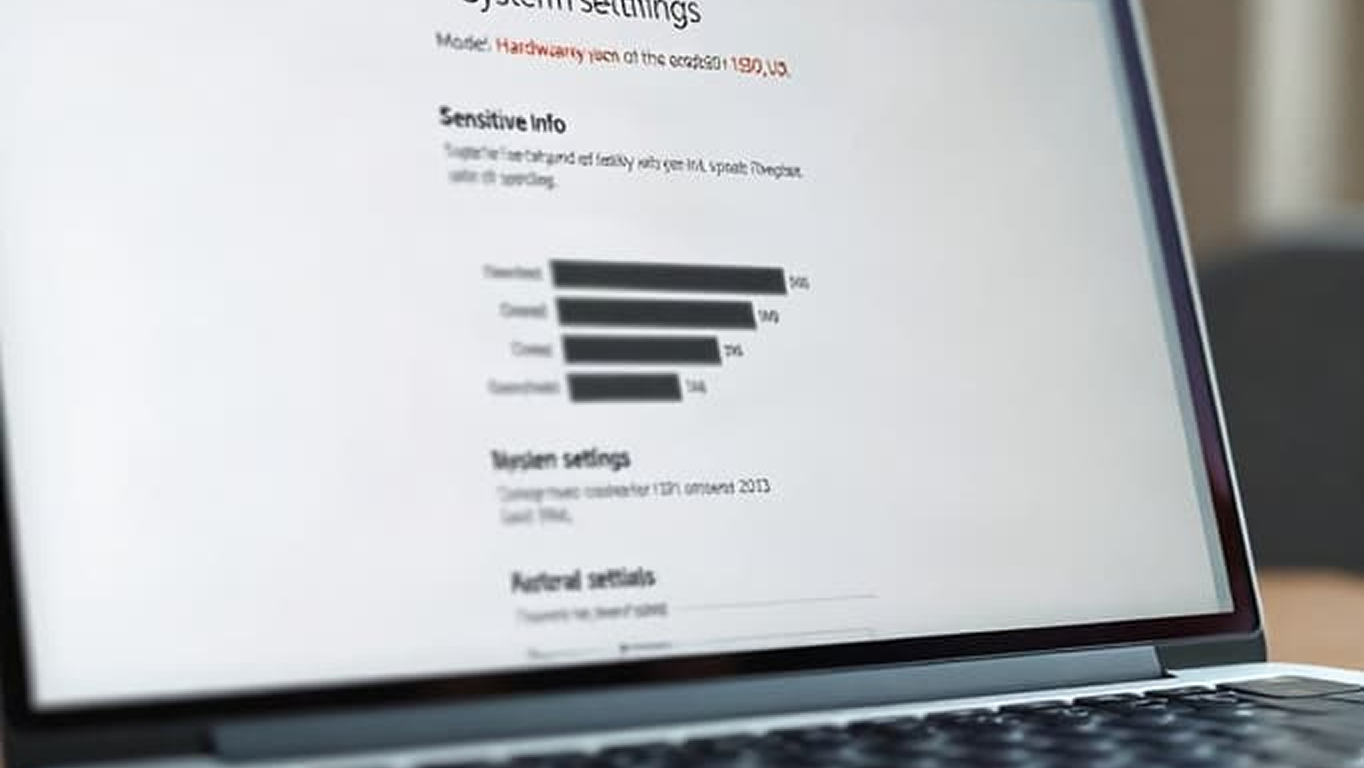
Laptop system information screen 6

System / Model Information

Show useful model or specification information without exposing personal data.

Laptop with charger and included accessories 7

Accessories & Condition

Show the charger and other included accessories, plus scratches, dents, cracks or damage.

Required Angles for Watches

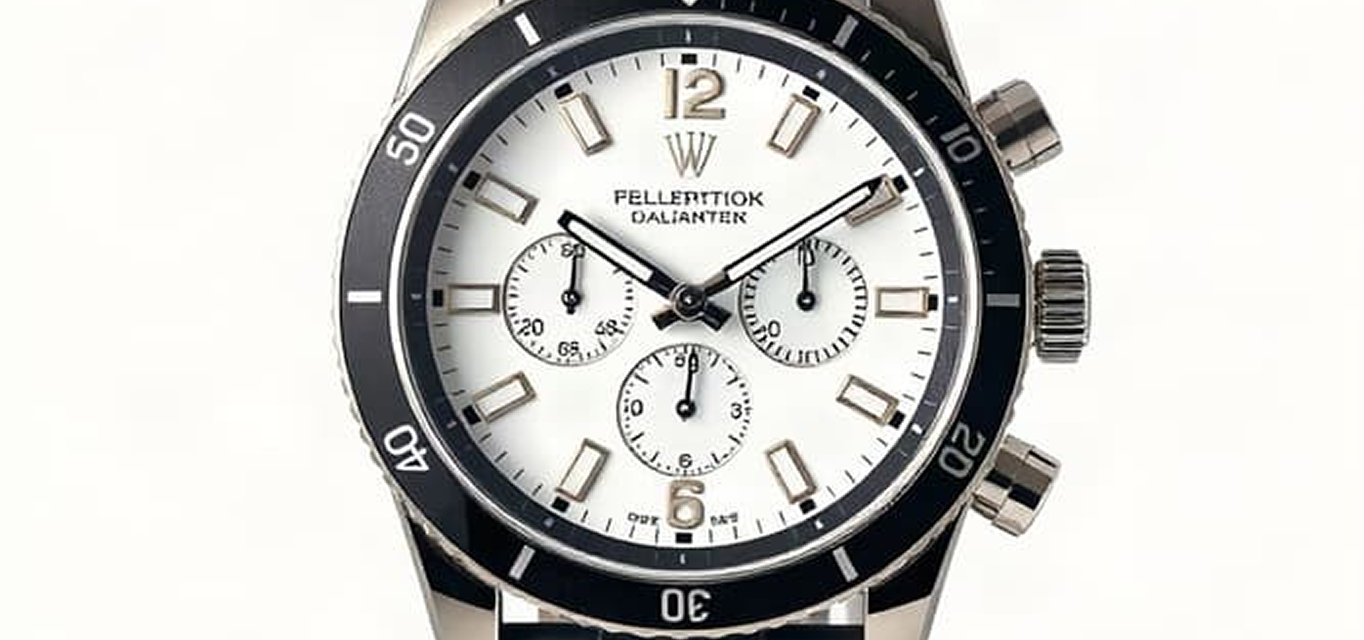
Luxury watch photographed from the front 1

FULL FRONT VIEW

Show the complete item clearly.

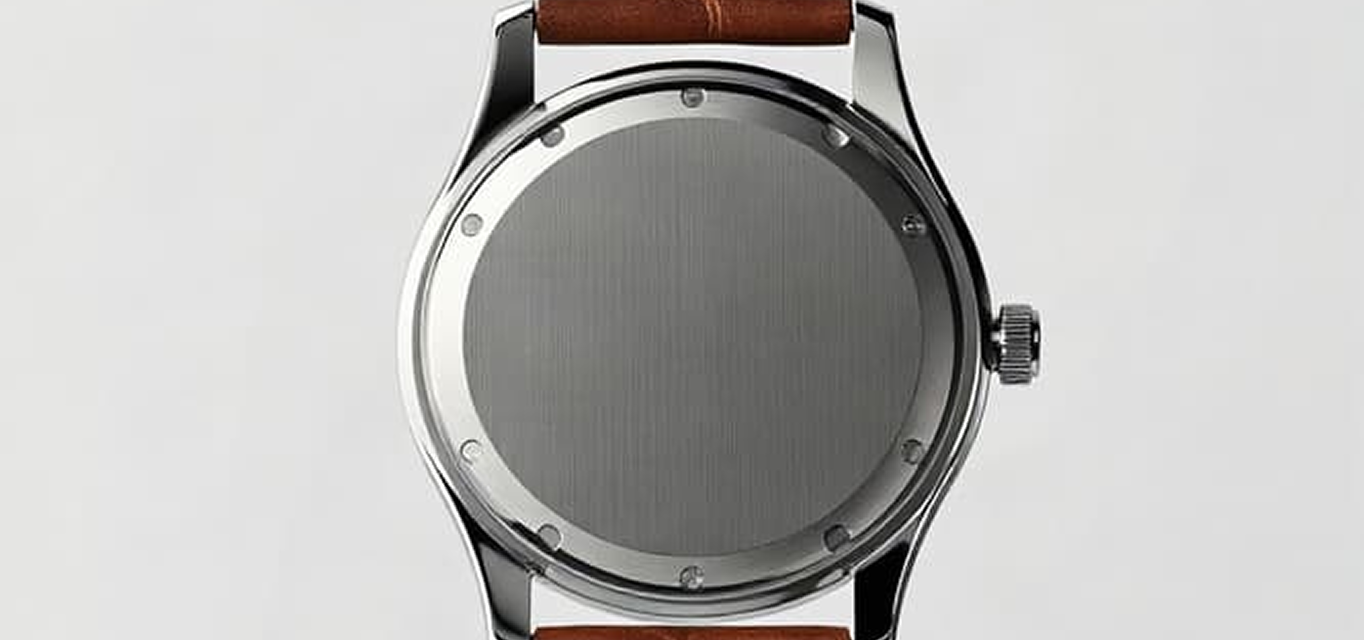
Watch photographed from the back 2

BACK VIEW

Capture the rear, case back or underside.

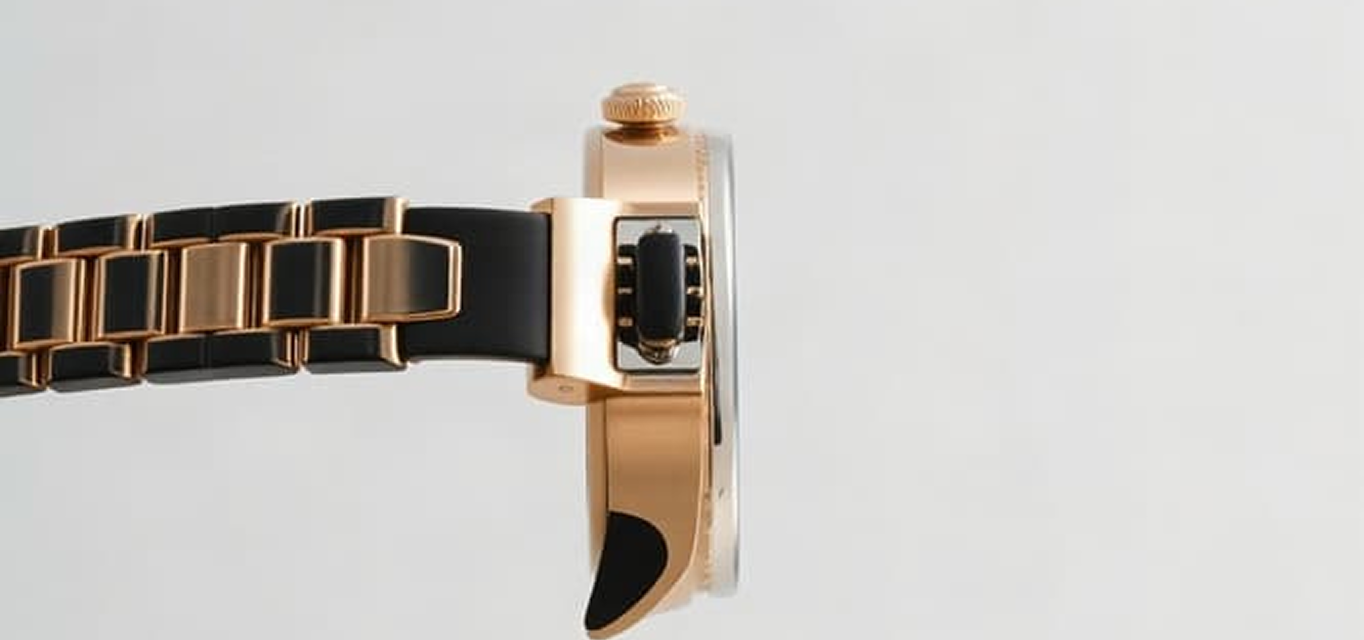
Watch photographed from the side 3

SIDE / PROFILE

Show thickness, crown, clasp or important side details.

Close-up of watch engraving and serial details 4

BRAND / MARKINGS

Show the underside or rear of the computer.

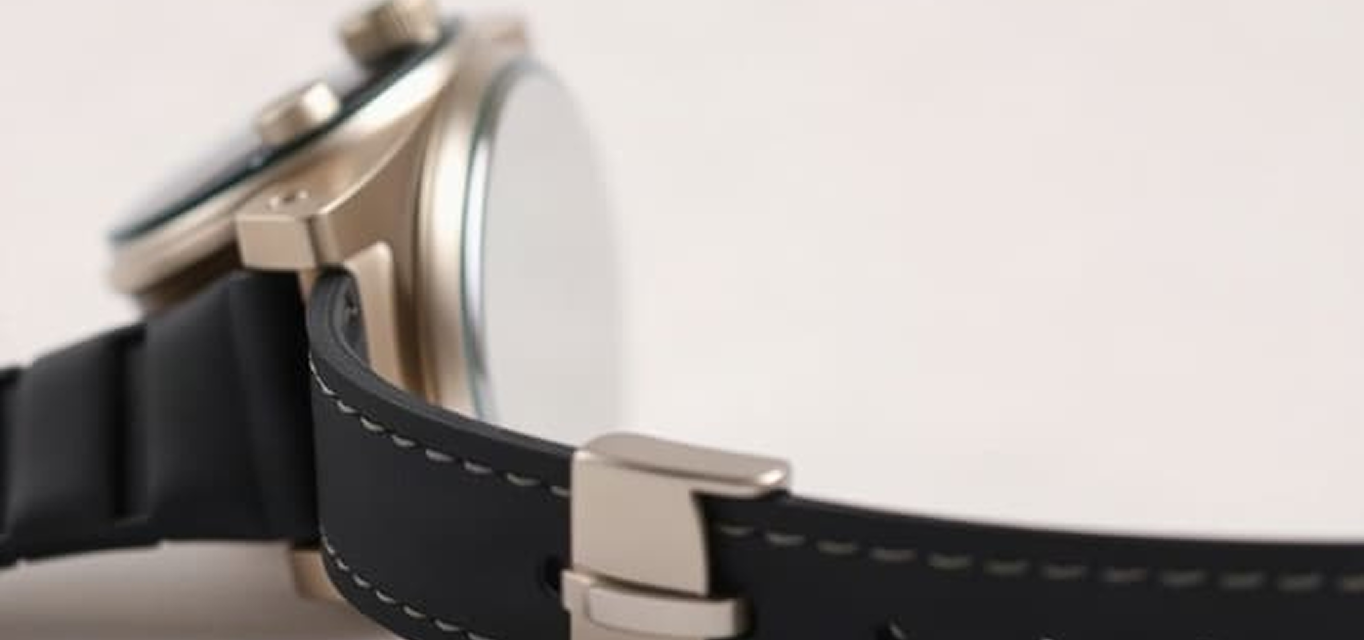
Watch strap and clasp photographed close up 5

CLASP / FASTENER / STRAP

Show how the item closes and its condition.

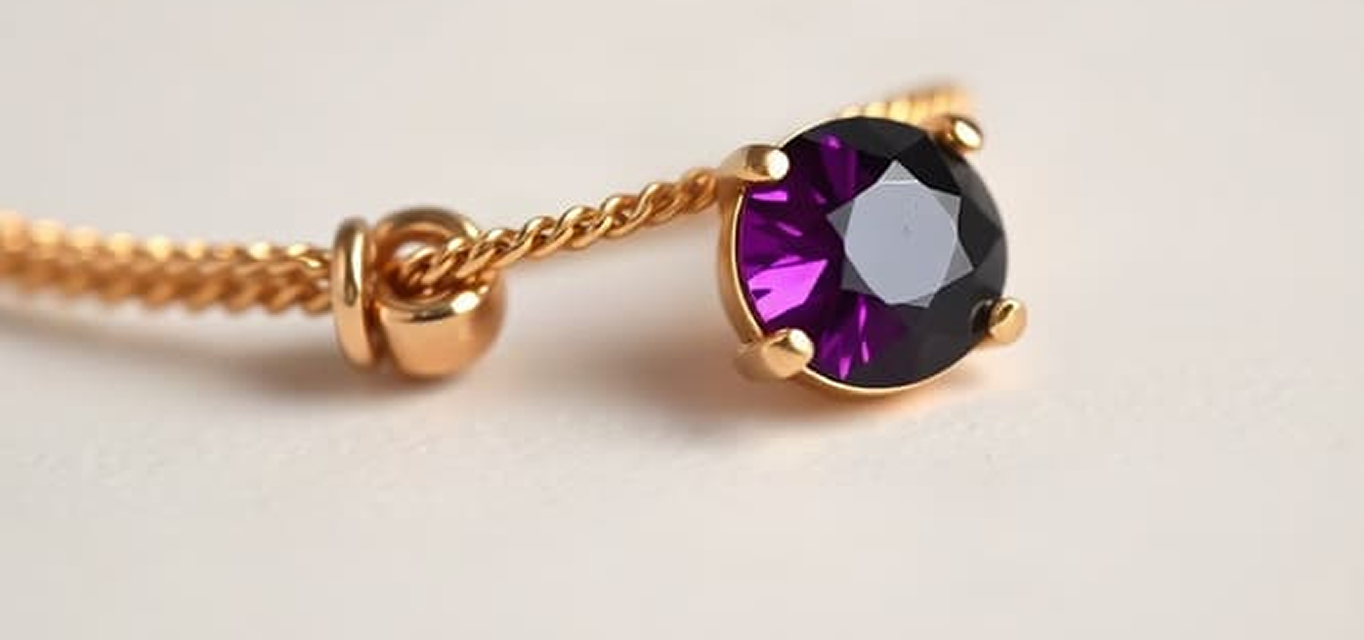
Watch accessory and detail photographed close up 6

CONDITION CLOSE-UP

Show scratches, missing stones, fading or other wear.

Required Angles for Skincare

Skincare product photographed from the front 1

Front Packaging

Show the complete front of the product.

Skincare product back label with ingredients and instructions 2

Back Packaging

Show the product information printed on the back.

Close-up of skincare product branding and details 3

Brand & Product Name

Make the brand, product name and variant clearly readable.

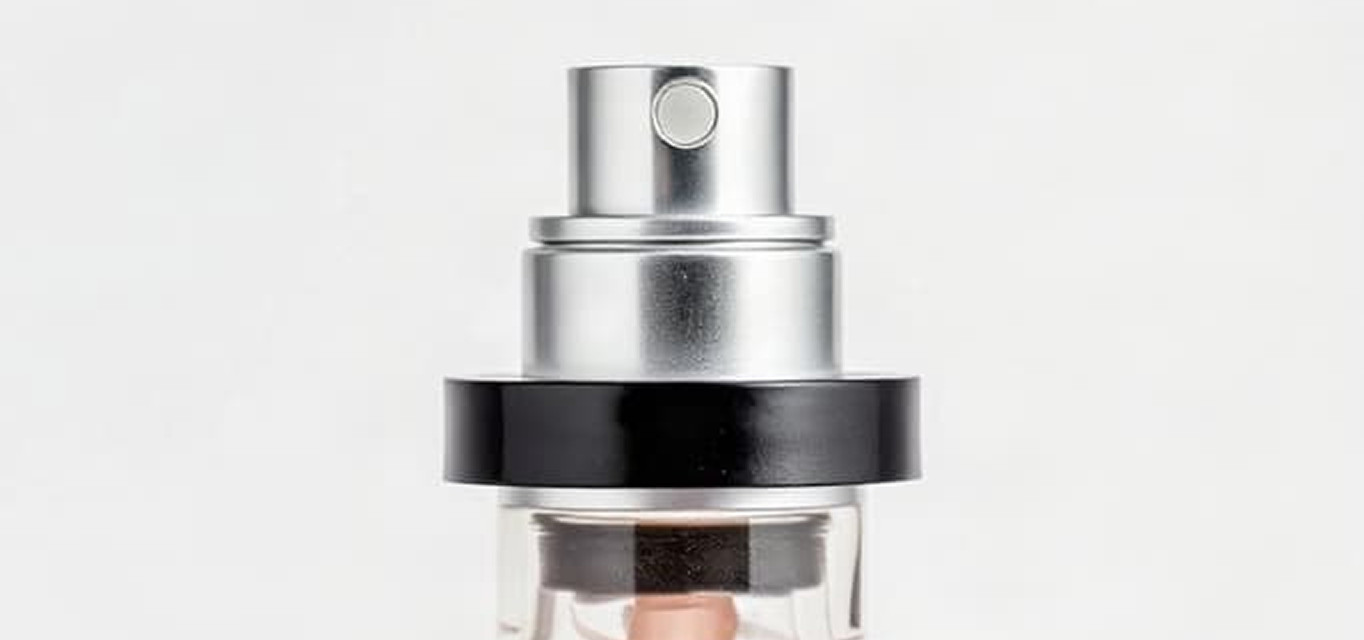
Skincare product pump and applicator close-up 4

Seal / Packaging Condition

Show that packaging and relevant seals are intact where applicable.

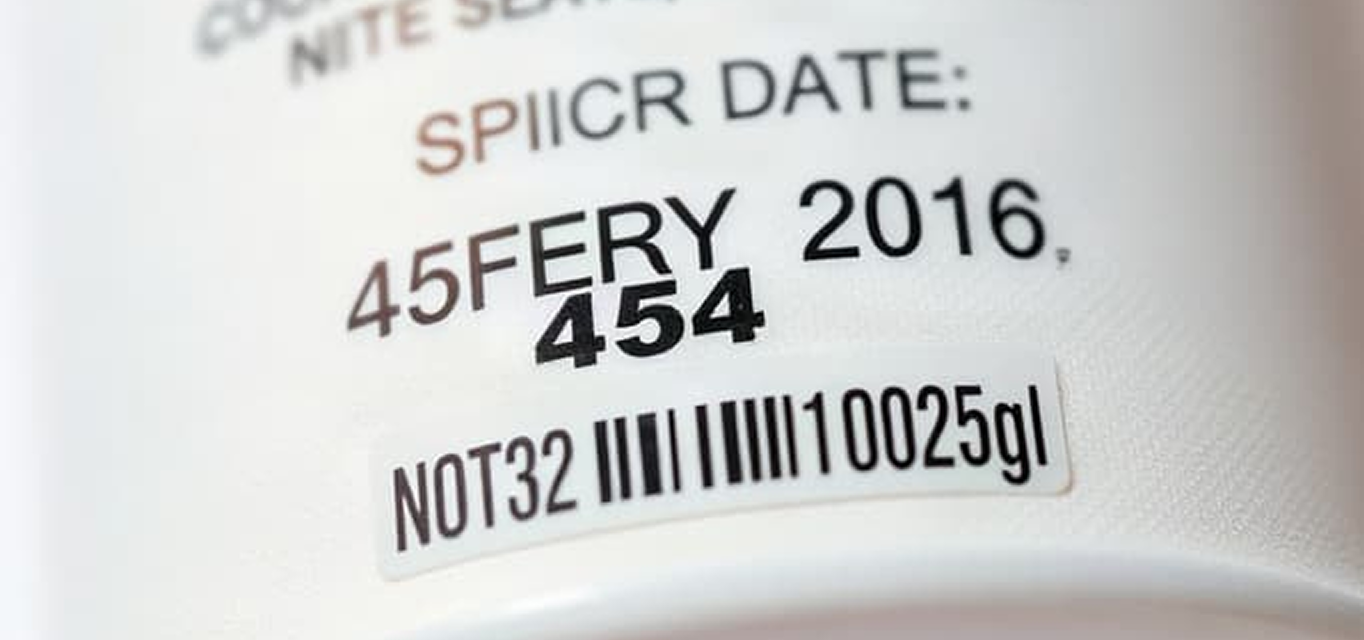
Close-up of skincare product expiry date and batch code 5

Expiry / Batch Information

Capture relevant expiry, manufacture or batch information where appropriate.

Required Angles for Home & Kitchen

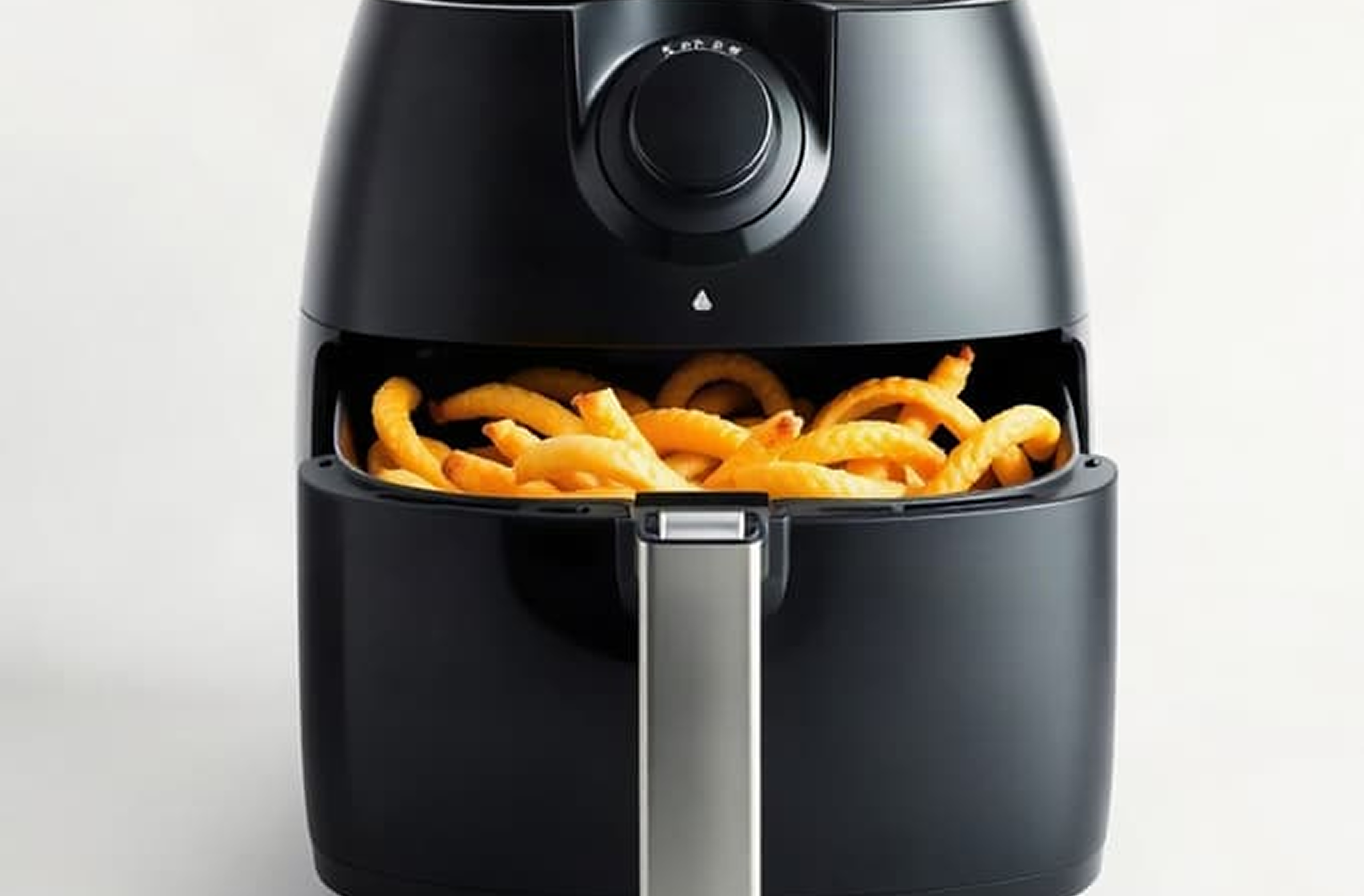
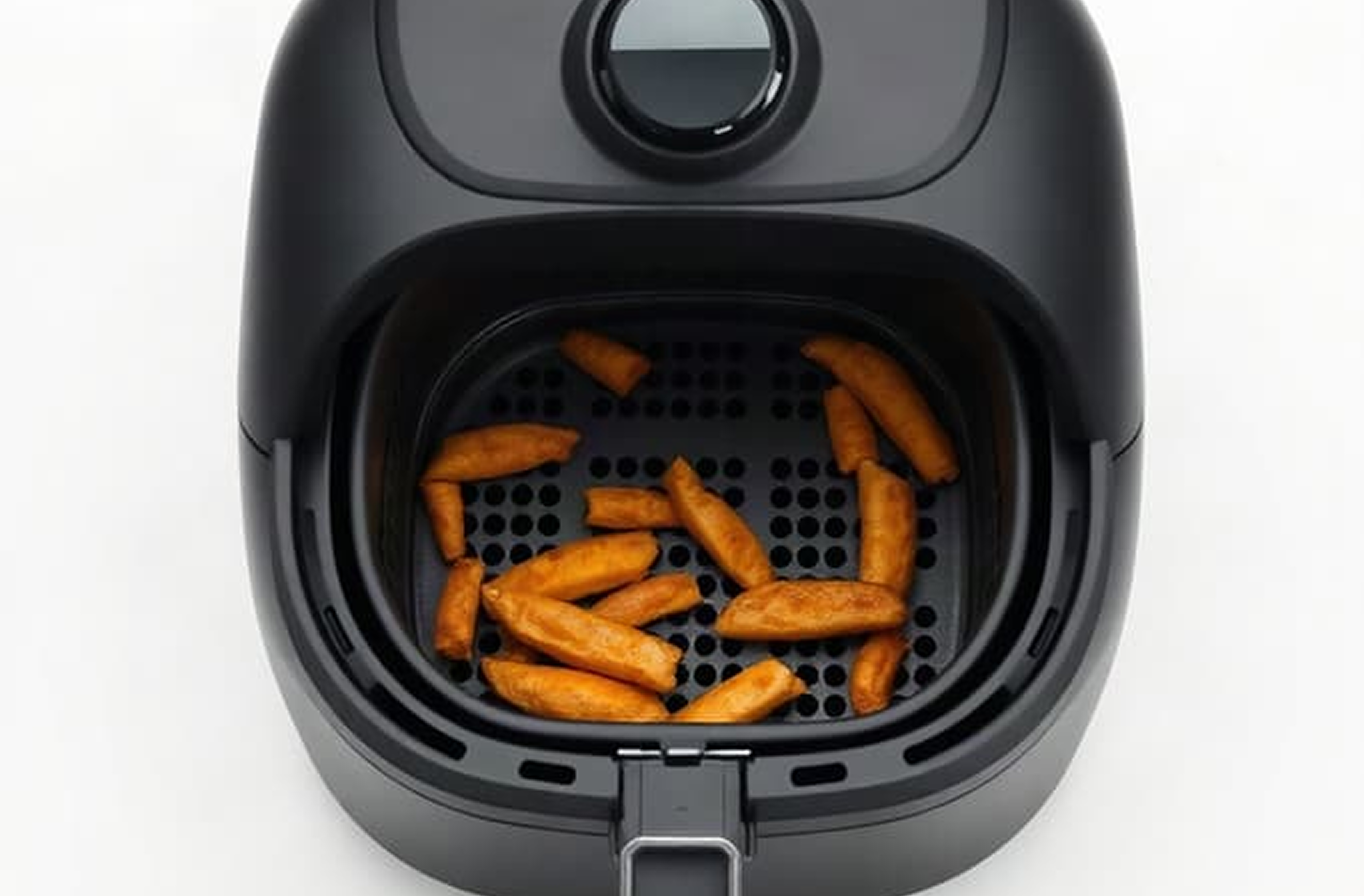
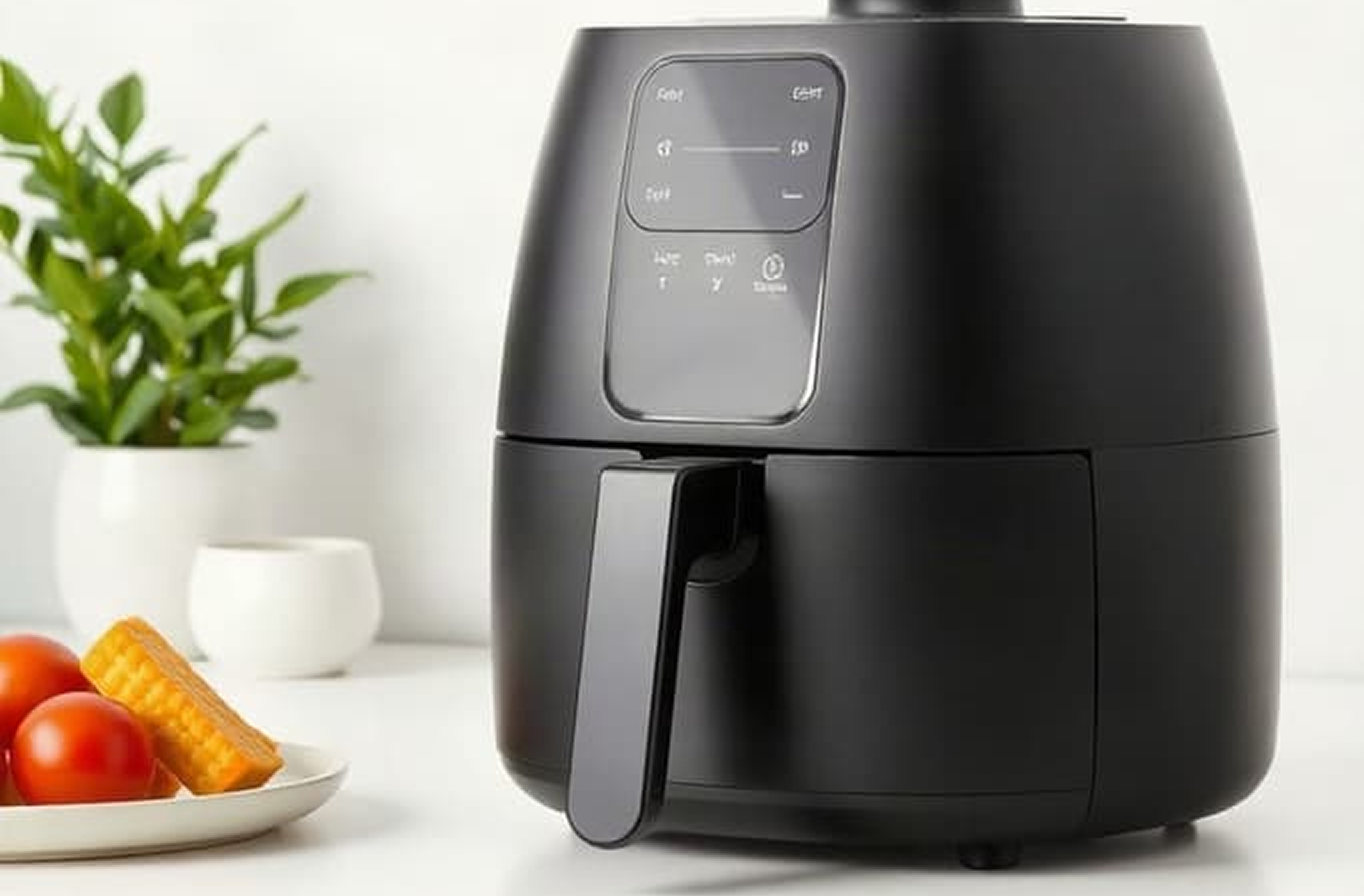
Kitchen appliance photographed from the front 1

Front View

Center the product facing the camera, controls clearly visible, even lighting with no shadows.

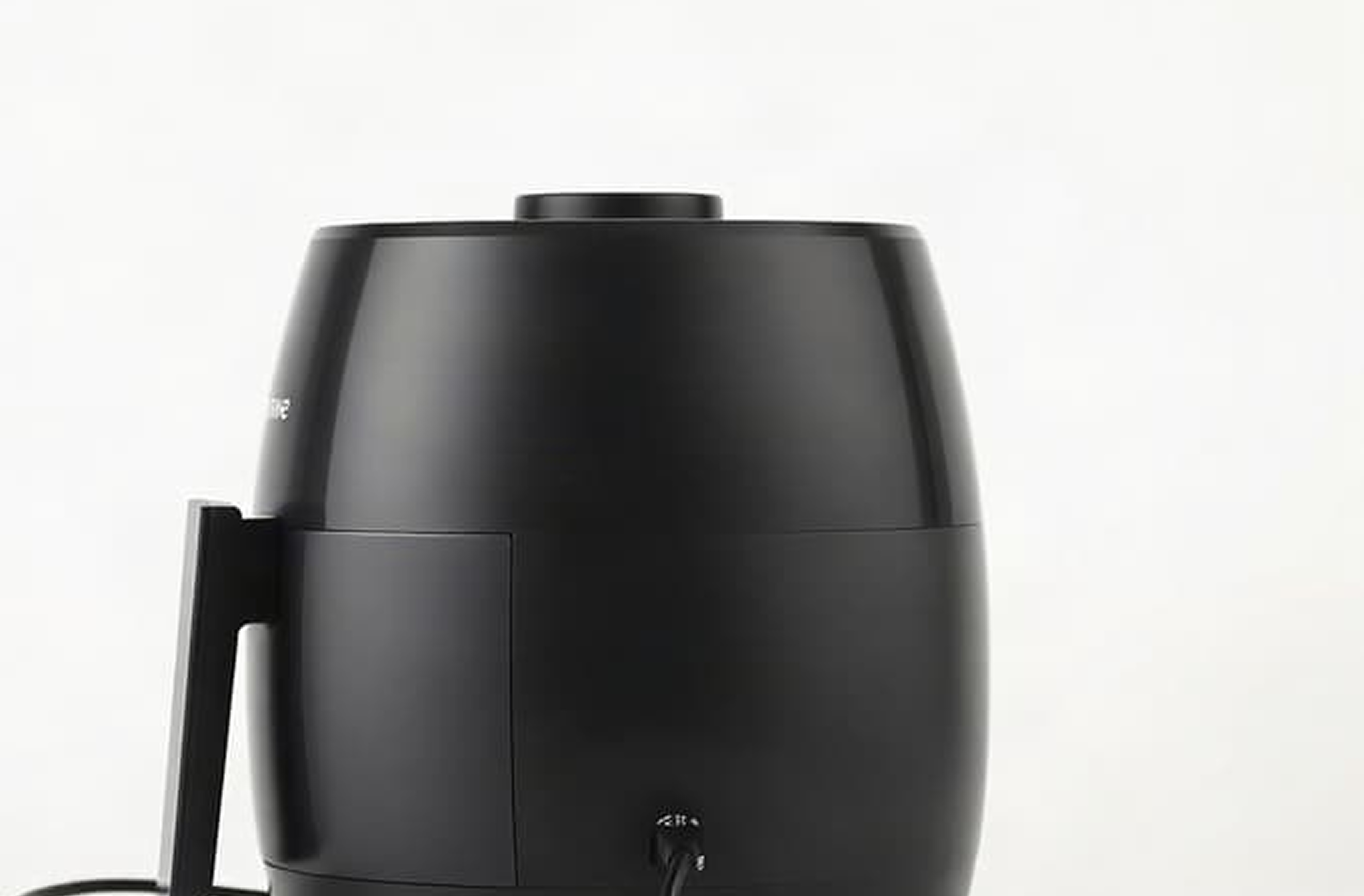
Kitchen appliance photographed from the back 2

Back View

Show rear ventilation, cord placement, and any rear labeling or model plate.

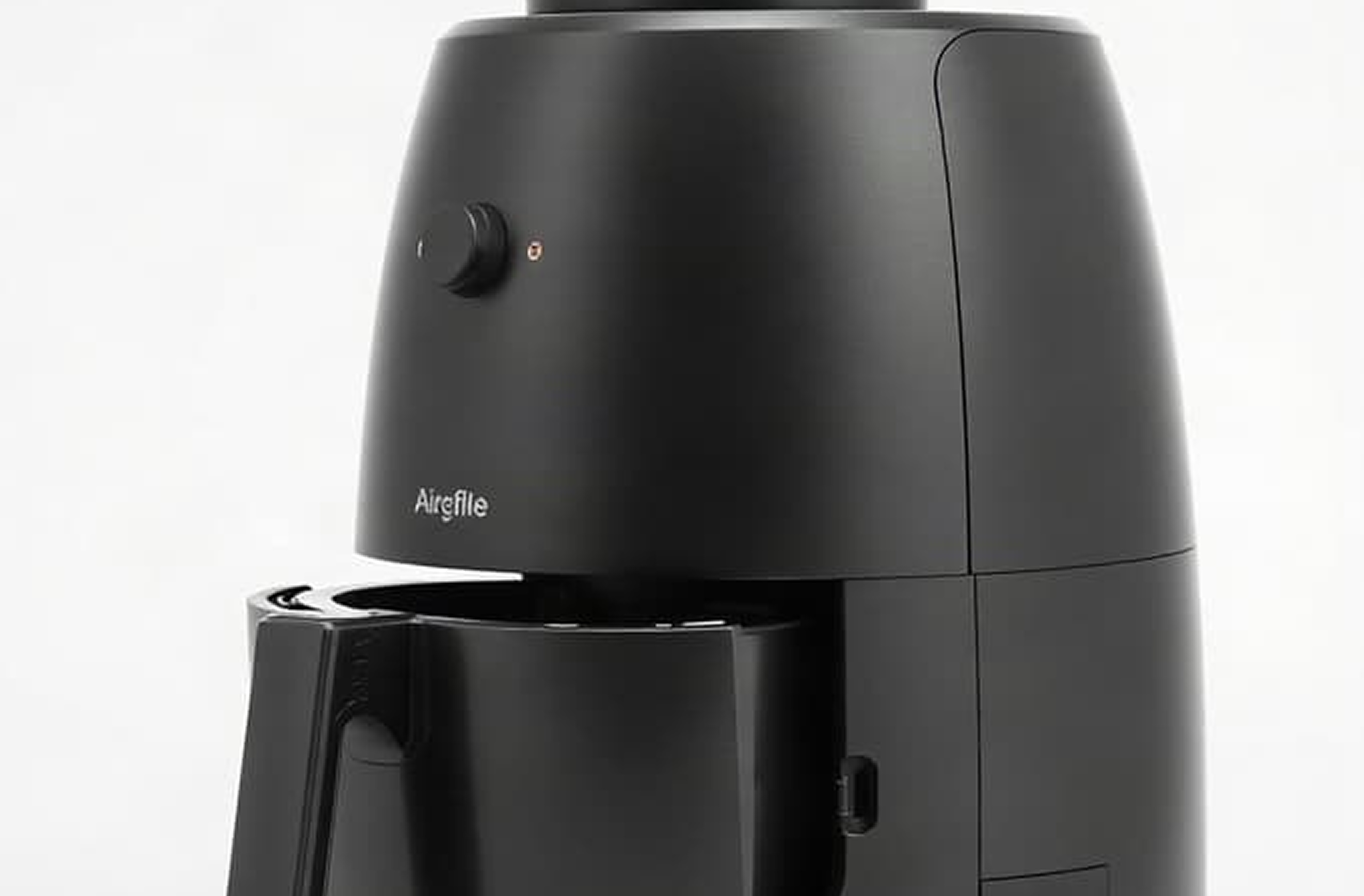
Kitchen appliance photographed from the left side 3

Left Side

Capture the full side profile to display depth and overall product proportions.

Kitchen appliance photographed from the right side 4

Right Side

Mirror of left side view, ensuring no cosmetic damage is hidden from either angle.

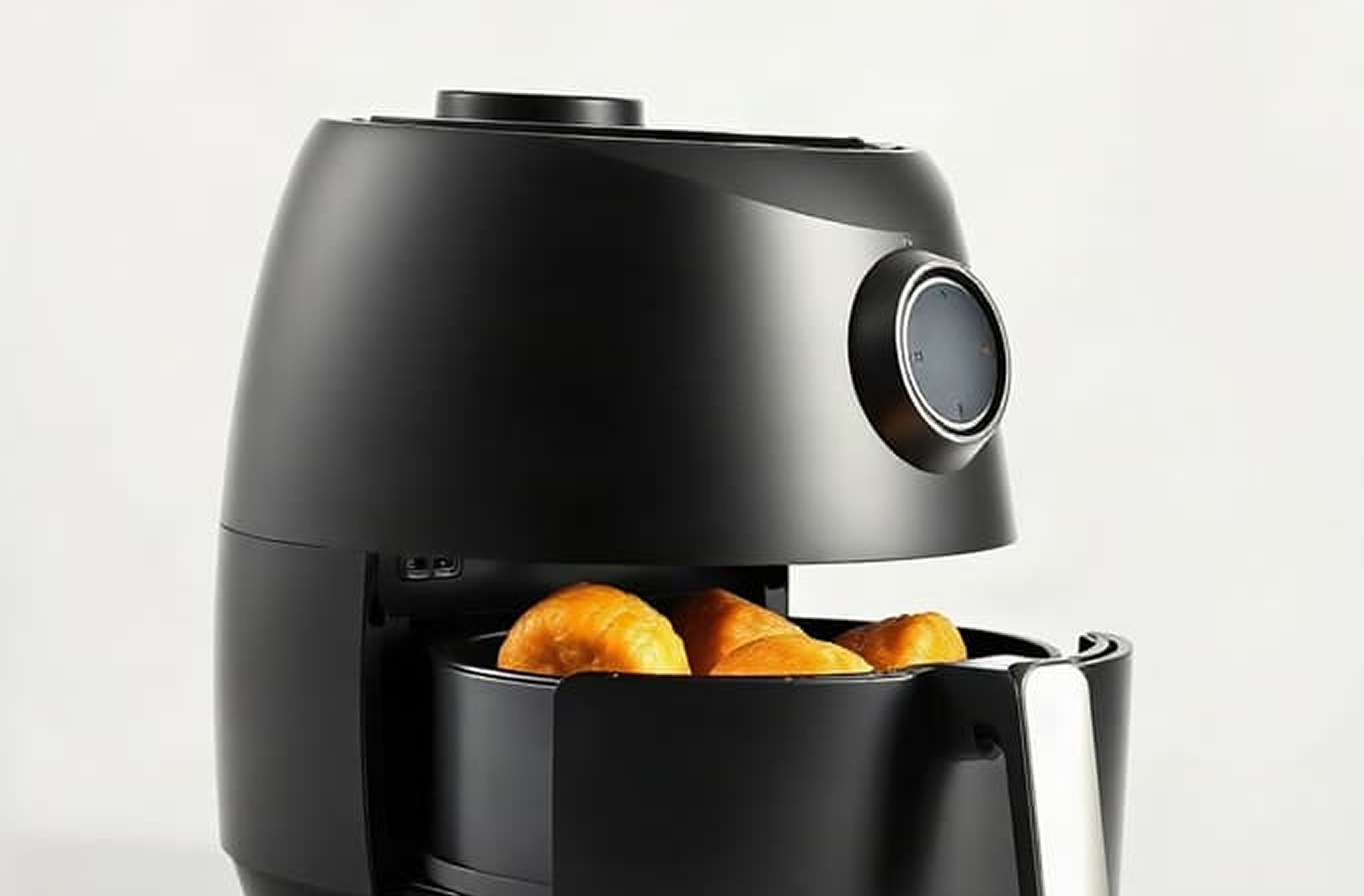
Open kitchen appliance showing the interior 5

Top / Open View

Open the basket or lid to reveal interior condition and included components.

Kitchen appliance controls and details 6

Close-Up Detail

Highlight buttons, display, or any brand markings to confirm authenticity.

Seller photo guide

Take Better Product Photos

Great photos speed up AI verification and win buyer trust instantly. Here's exactly how to shoot every listing like a pro.

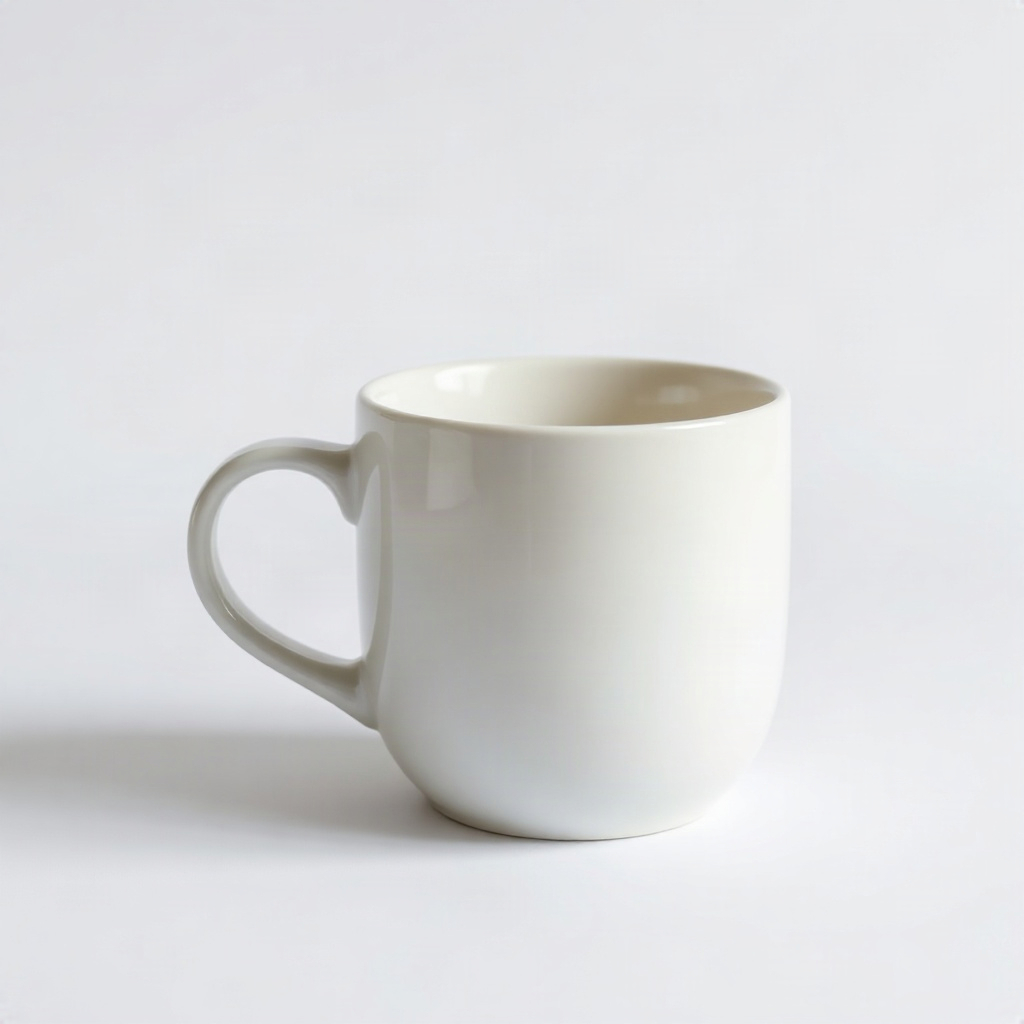
Use Natural Daylight

Shoot near a window during the day. Soft daylight shows true color and texture avoid harsh flash that creates glare and hides flaws.

Mug photographed with harsh flash and a cluttered background Mug photographed in soft daylight on a plain background Avoid Recommended

Capture Every Angle

Hover the numbers to see what verifiers look for

4 required shots

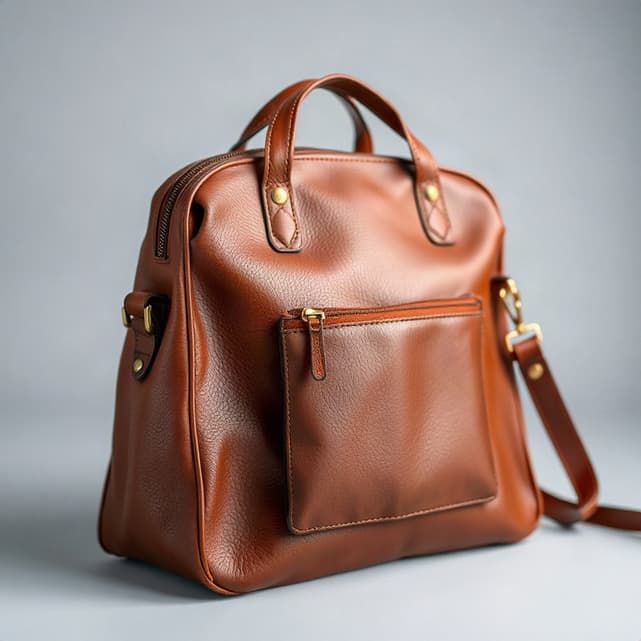
Show Flaws Honestly

Circle any scratches or wear

Brown leather bag with a marked scratch Flaw noted

Clean Backgrounds Win

Plain surfaces boost trust score

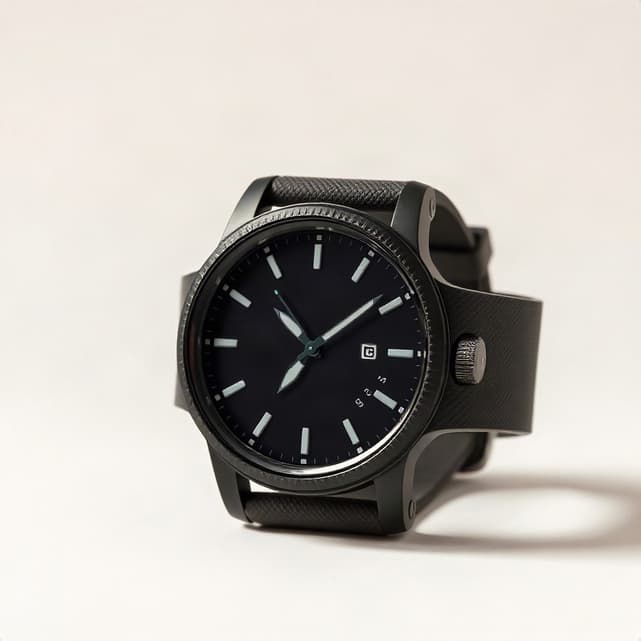
Black watch on a plain background Corner guide

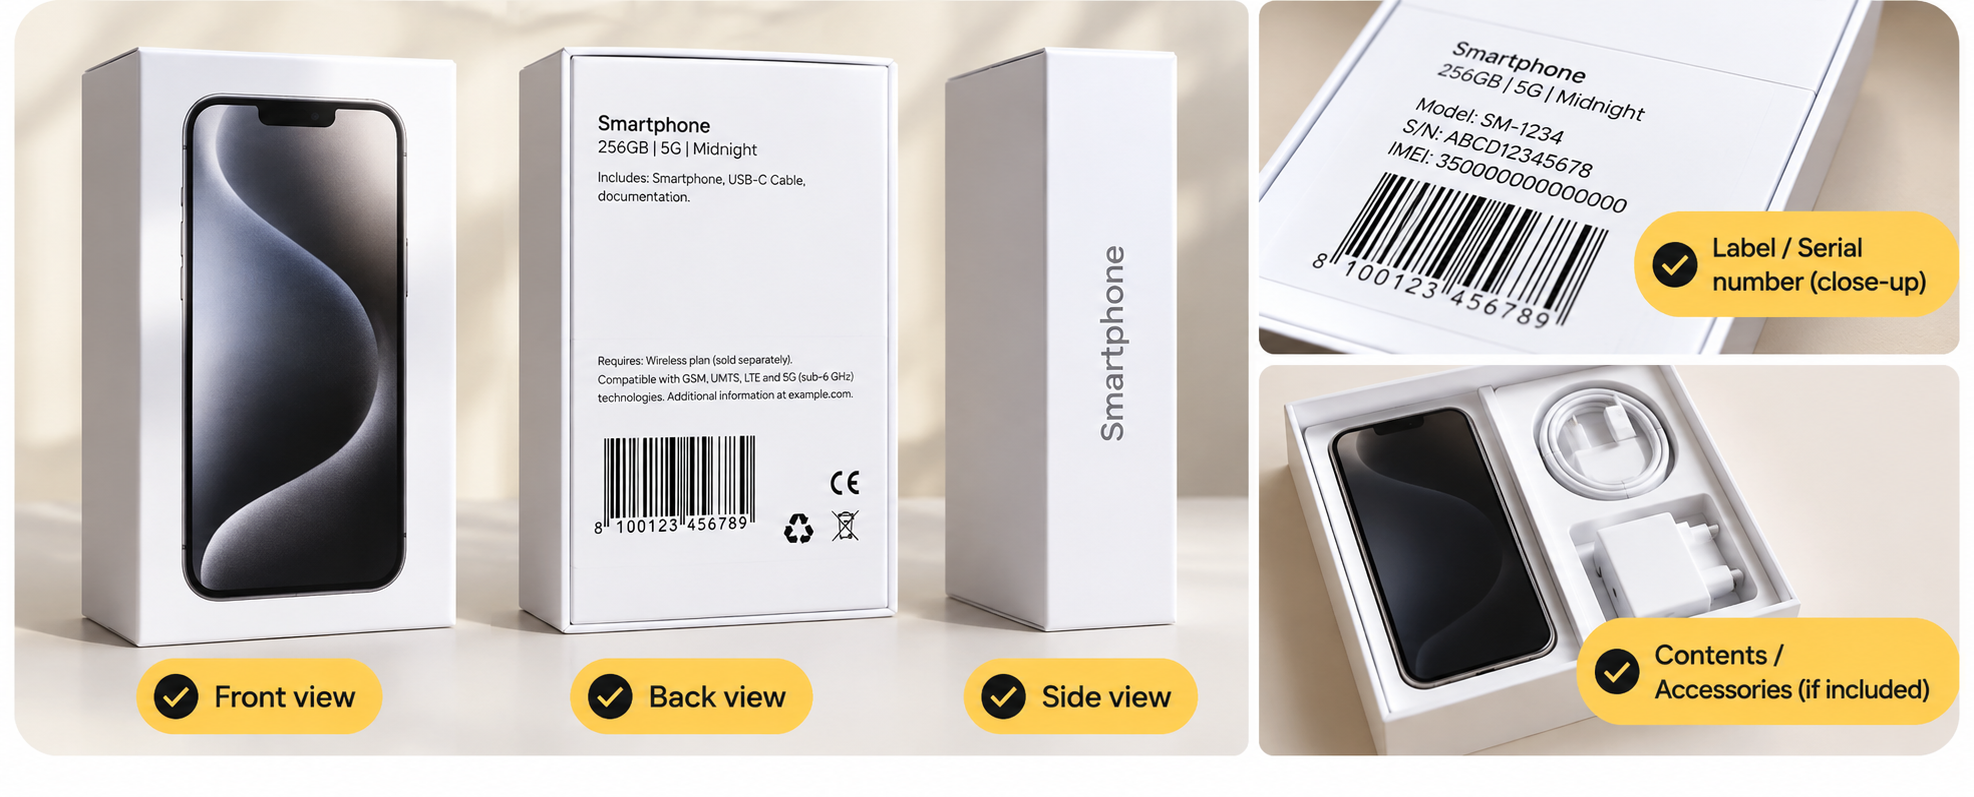
Include Packaging & Labels

Capture original boxes, tags, labels, and serial numbers clearly. These speed up warehouse verification significantly.

Phone box front, back, side, serial label, and included accessories

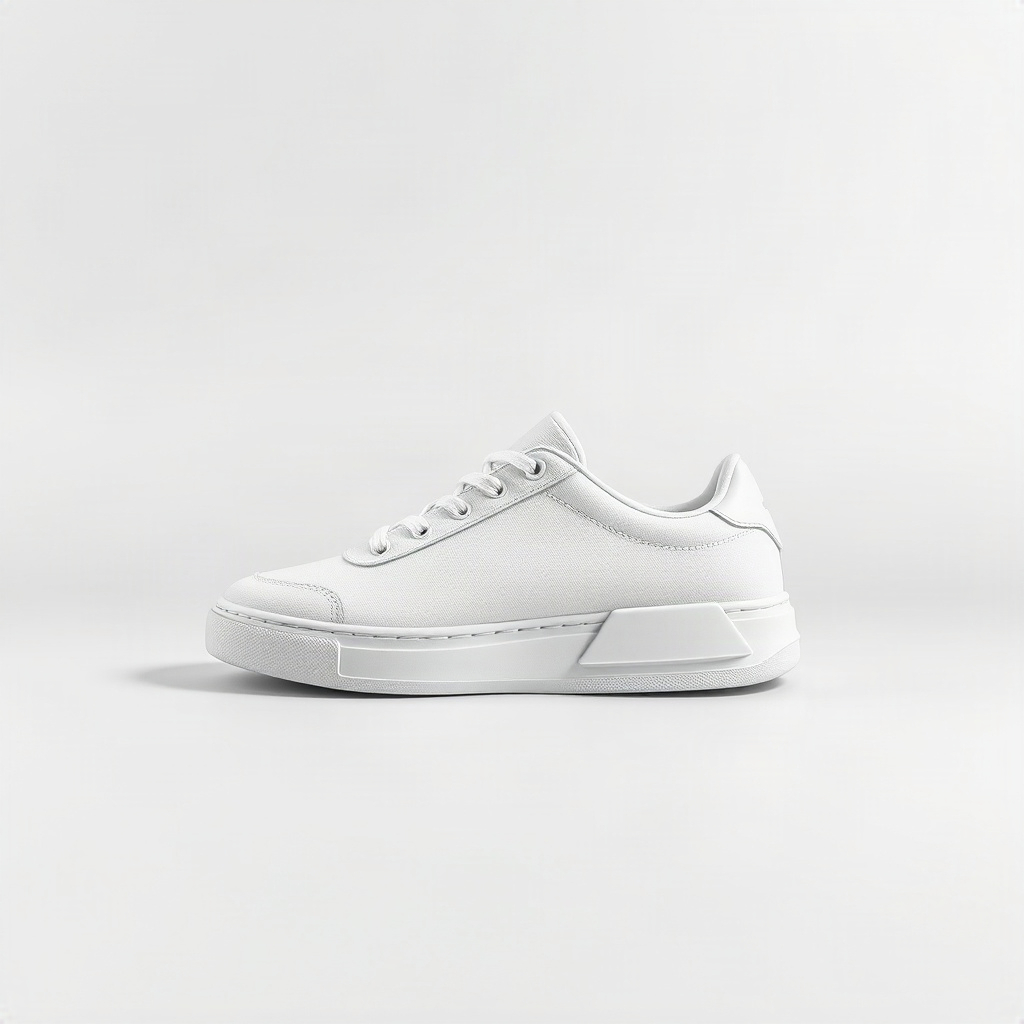
Fill the Frame

Keep the full product visible with even margins. Nothing important should be cropped out.

Recommended White sneaker centered in the frame with even margins
Back to top